Building shed doors is a fundamental skill for any DIY enthusiast or homeowner looking to enhance their outdoor storage solutions. Well-constructed shed doors not only provide security but also add to the aesthetic appeal of your shed. This comprehensive guide will walk you through the process of building shed doors, covering everything from selecting materials to finishing touches.
Table of Contents:
- Introduction
- Types of Shed Doors
- Materials Needed
- Tools Required
- Measuring and Planning
- Building the Door Frame
- Adding Bracing for Stability
- Installing the Door Panels
- Attaching Hardware
- Finishing Touches
- Maintenance Tips
- Conclusion
1. Introduction
Shed doors are essential components that protect your belongings from the elements and unauthorized access. Crafting your own shed doors allows for customization to fit your specific needs and ensures durability. Whether you’re replacing old doors or building new ones, this guide will provide step-by-step instructions to achieve professional results.
2. Types of Shed Doors
Before diving into the construction process, it’s important to decide on the type of shed door that best suits your requirements. Here are some common types:
- Single Door: Ideal for smaller sheds, offering a straightforward design and easy installation.
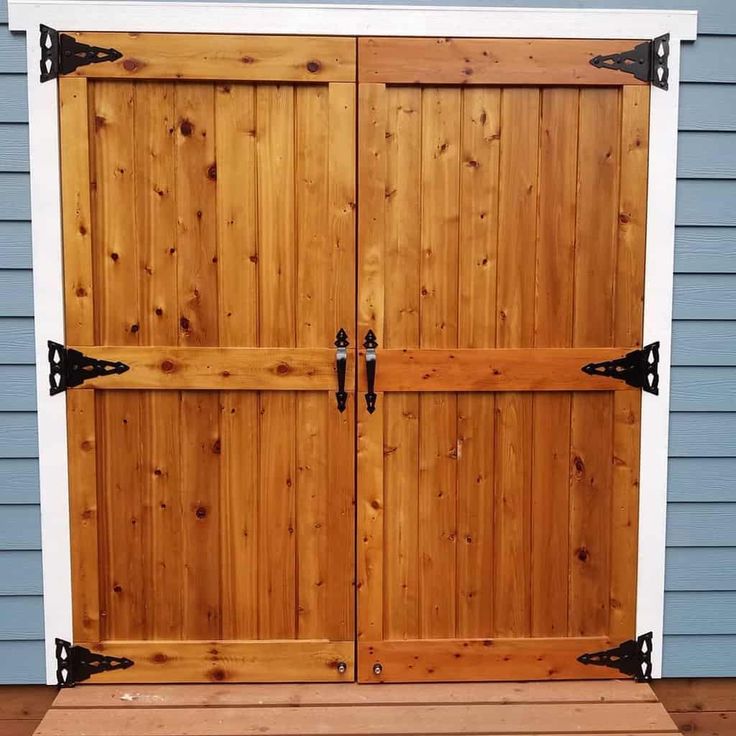
- Double Doors: Perfect for larger openings, allowing easy access for bulky items.
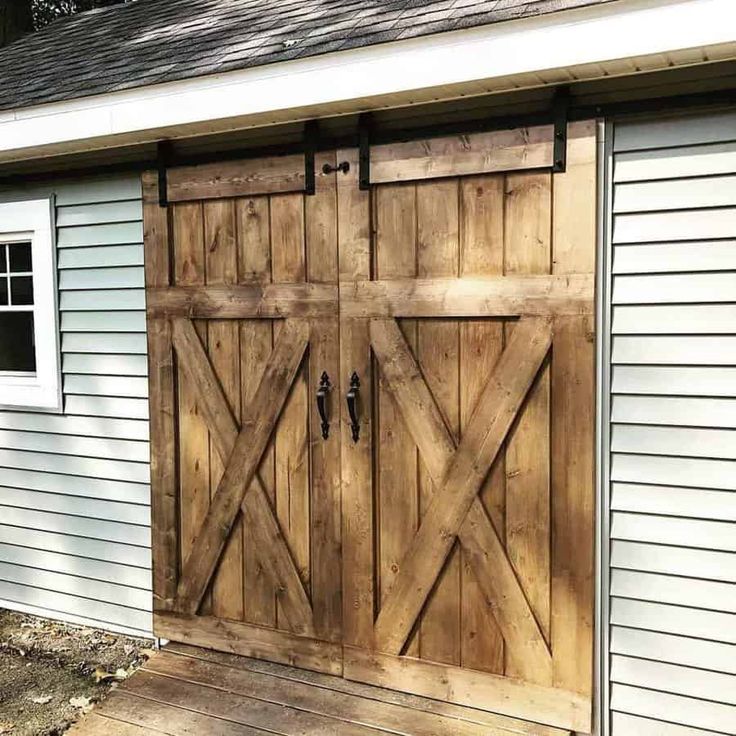
- Sliding Doors: A space-saving option that slides along a track, suitable for sheds with limited swing space.
- Dutch Doors: Split horizontally, allowing the top half to open independently, providing ventilation while keeping the bottom closed.
Consider the size of your shed, the items you’ll store, and your personal preferences when selecting the door type.
3. Materials Needed
Gathering the right materials is crucial for building sturdy and long-lasting shed doors. Here’s a list of materials you’ll need:
- Lumber: Choose weather-resistant wood like cedar or pressure-treated pine for durability.
- Plywood Panels: For the door surface; exterior-grade plywood is recommended.
- Wood Screws: Galvanized or stainless steel to prevent rusting.
- Wood Glue: For added strength in joints.
- Hinges: Heavy-duty hinges appropriate for the door’s weight.
- Door Handle and Lock: For security and ease of use.
- Weatherstripping: To seal gaps and protect against the elements.
- Paint or Stain: To finish and protect the wood.
4. Tools Required
Having the right tools on hand will make the construction process smoother. Ensure you have the following:
- Measuring Tape: For accurate measurements.
- Carpenter’s Square: To ensure right angles.
- Circular Saw or Handsaw: For cutting lumber and plywood.
- Drill and Drill Bits: For creating pilot holes and driving screws.
- Screwdriver: For attaching hardware.
- Clamps: To hold pieces together during assembly.
- Sanding Block or Electric Sander: For smoothing surfaces.
- Paintbrushes or Rollers: For applying finish.
5. Measuring and Planning
Accurate measurements and thorough planning are the foundation of a successful project. Follow these steps:
- Measure the Opening: Determine the exact width and height of the door opening. Subtract 1/4 inch from both dimensions to allow for clearance.
- Plan the Design: Sketch the door design, including frame dimensions, panel placement, and hardware locations.
- Calculate Materials: Based on your design, calculate the amount of lumber and plywood needed.
- Check for Squareness: Ensure the door opening is square by measuring diagonally from corner to corner. Adjust as necessary.
6. Building the Door Frame
The door frame provides the structural backbone of your shed door. Here’s how to construct it:
- Cut the Lumber: Based on your measurements, cut the top, bottom, and side pieces of the frame.
- Assemble the Frame: Lay out the pieces on a flat surface, forming a rectangle. Use wood glue at the joints and secure them with screws.
- Ensure Squareness: Use a carpenter’s square to verify right angles at each corner. Adjust as needed before the glue sets.
- Add a Middle Brace (Optional): For larger doors, consider adding a horizontal brace in the middle for additional support.
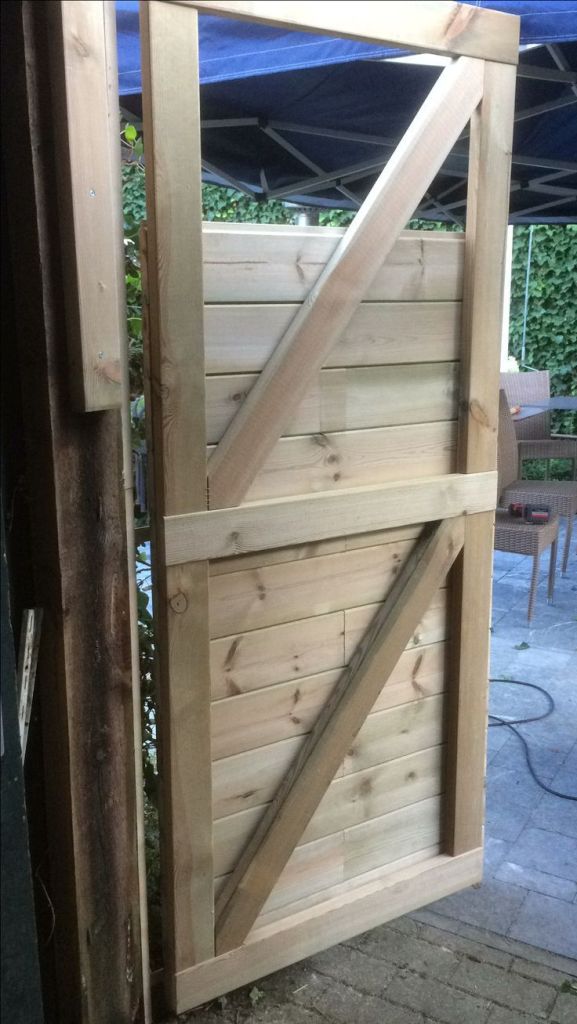
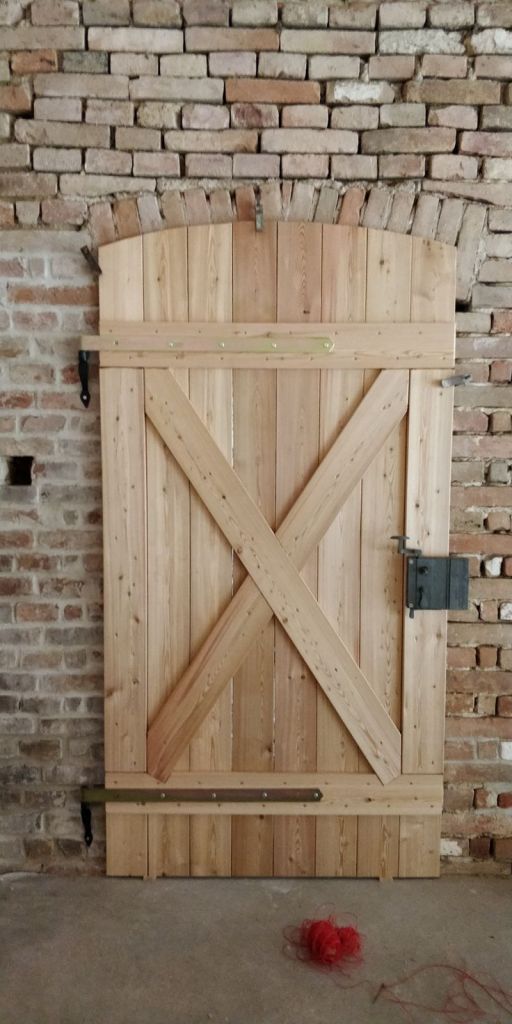
7. Adding Bracing for Stability
To prevent the door from sagging over time, incorporate bracing:
- Cut Diagonal Braces: Measure and cut diagonal pieces to fit from the bottom corner to the opposite top corner of the frame, forming a “Z” pattern.
- Attach the Braces: Apply wood glue to the edges of the braces and secure them to the frame with screws.
- Check Alignment: Ensure the braces are flush with the frame and do not protrude, as this could interfere with the door’s operation.
8. Installing the Door Panels
With the frame and bracing complete, it’s time to add the door panels:
- Cut the Plywood Panels: Cut the plywood to match the dimensions of the door frame.
- Attach the Panels: Apply wood glue along the edges of the frame and place the plywood panel on top. Secure it with screws around the perimeter, spacing them about 6 inches apart.
- Sand the Edges: Smooth any rough edges with sandpaper to prevent splinters and ensure a clean finish.
9. Attaching Hardware
- Install Hinges:
- Position the hinges on the door frame, typically about 6-8 inches from the top and bottom edges.
- Mark the screw holes and pre-drill them to prevent the wood from splitting.
- Attach the hinges to the door frame using screws.
- Secure the Hinges to the Shed:
- Align the door with the shed opening.
- Hold the door in place (using clamps or assistance) and attach the other side of the hinges to the shed’s door jamb.
- Add a Handle and Lock:
- Drill holes for the handle and lock as per their templates.
- Install the handle and lock securely, ensuring smooth operation.
- Test the Door:
- Open and close the door to ensure it swings or slides properly and aligns with the opening.
10. Finishing Touches
The finishing touches not only improve the door’s appearance but also protect it from the elements:
- Sand the Entire Door:
- Smooth all surfaces, corners, and edges with a sanding block or electric sander.
- Apply Primer and Paint or Stain:
- Use an exterior-grade primer to seal the wood.
- Apply weather-resistant paint or stain to protect the door from moisture, UV rays, and temperature changes.
- Install Weatherstripping:
- Attach weatherstripping around the edges of the door to seal gaps, improve insulation, and prevent drafts.
- Add Decorative Elements (Optional):
- Consider adding trim, crossbars, or decorative hardware to enhance the door’s aesthetic appeal.
11. Maintenance Tips
To ensure your shed doors remain functional and attractive over time, follow these maintenance tips:
- Inspect Regularly: Check for signs of wear, such as rusted hardware, loose screws, or warped wood.
- Repaint or Restain Periodically: Refresh the finish every few years to maintain protection against the elements.
- Lubricate Hinges: Apply a light oil or lubricant to hinges and locks to keep them operating smoothly.
- Clean Dirt and Debris: Wipe down the door occasionally to remove dirt and debris that can accumulate.
12. Conclusion
Building your own shed doors can be a rewarding project that enhances both the functionality and appearance of your shed. With proper planning, the right materials, and attention to detail, you can create durable and stylish doors that meet your specific needs. Follow this guide, and you’ll have shed doors that stand the test of time.
Explore Ryan’s Shed Plans
Ready to take your shed-building skills to the next level? Imagine having access to over 12,000 detailed plans, including step-by-step instructions for building sheds, doors, and much more. Ryan’s Shed Plans is the ultimate resource for every DIY enthusiast!
👉 Click here to unlock Ryan’s Shed Plans now and start your next project!
Affiliate Disclosure
This article contains affiliate links. If you click on a link and make a purchase, we may earn a small commission at no additional cost to you. This helps support our content and allows us to provide valuable information to our readers.
Discover more from WoodReality
Subscribe to get the latest posts sent to your email.

Pingback: DIY Shed Building Plans: A Step-By-Step Guide to Building the Perfect Shed – WoodReality
Pingback: How to Build a Wooden Adirondack Chair: A Step-by-Step Guide – WoodReality
Pingback: How to Build a Storage Shed from Scratch: A Step-by-Step Guide – WoodReality
Pingback: How to Build a Firewood Storage Shed (Step-by-Step Guide) – WoodReality