I’ve always admired the charm and functionality of wooden bookshelves. They’re not just storage solutions but also a way to add character and warmth to a room. One day, I decided to roll up my sleeves and build one myself. Honestly, the experience was both fun and rewarding! If you’ve ever wanted to build your own bookshelf, let me walk you through exactly how I did it and the steps you can follow too.
Why Build Your Own Bookshelf?
When I looked into buying a bookshelf, I found that most options were either too generic or way out of my budget. By building my own, I not only saved money but also created something unique that fit perfectly into my space. Plus, it’s a fantastic feeling to see something you made with your own hands in daily use.
Materials and Tools I Used
Here’s everything I gathered for the project:
Materials:
- Wood: I went with sturdy plywood for the shelves and sides. You can also use solid wood if you prefer a more premium look.
- Backing Material: Thin plywood for the back panel.
- Wood Glue: For added stability.
- Fasteners: Wood screws.
- Wood Finish: I chose a natural wood stain, but you can paint it if that suits your style better.
Tools:
- Measuring Tape: Precision is key in any woodworking project.
- Saw: A circular saw worked best for cutting straight lines.
- Drill: For pilot holes and screws.
- Sander: Smooth surfaces make all the difference.
- Clamps: These were lifesavers for holding everything in place during assembly.
- Level: To make sure everything stayed straight and balanced.
Planning and Design
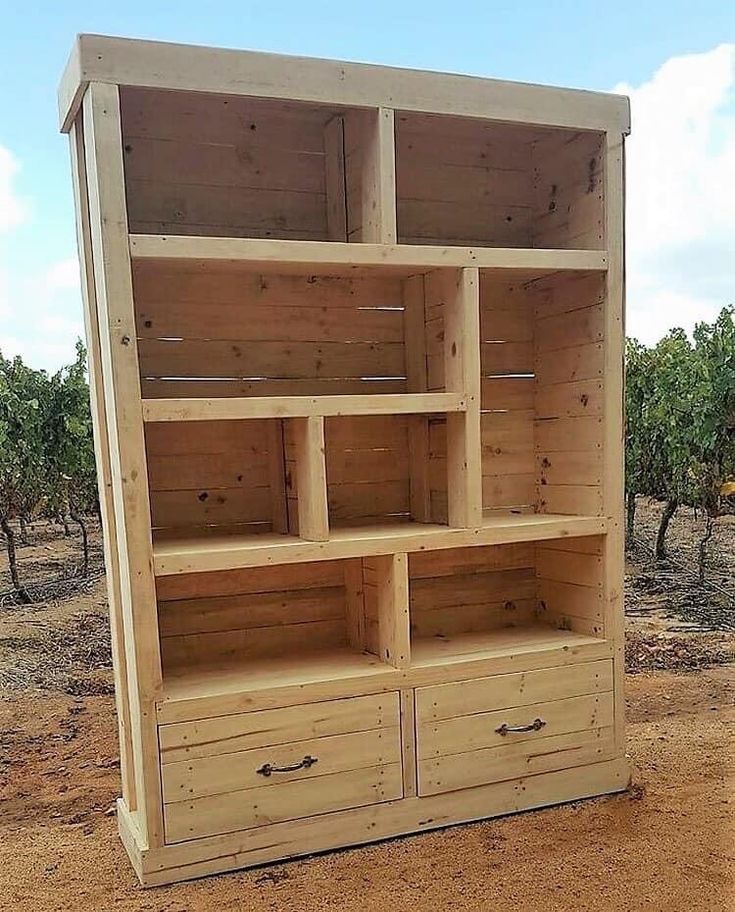
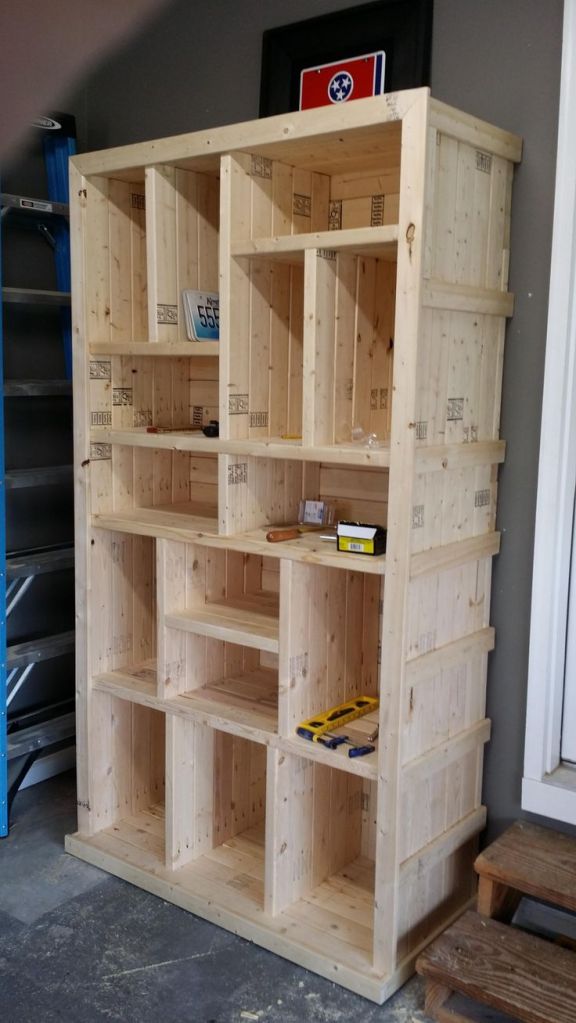
Before diving into cutting and assembling, I sketched a quick plan. My goal was a bookshelf that was about 6 feet tall, 3 feet wide, and 12 inches deep. This size worked perfectly for my space and could hold plenty of books. If you’re planning your own, think about:
- The dimensions of your space.
- The number of shelves you’ll need.
- Whether you want fixed or adjustable shelves.
Step-by-Step Process
1. Cutting the Wood
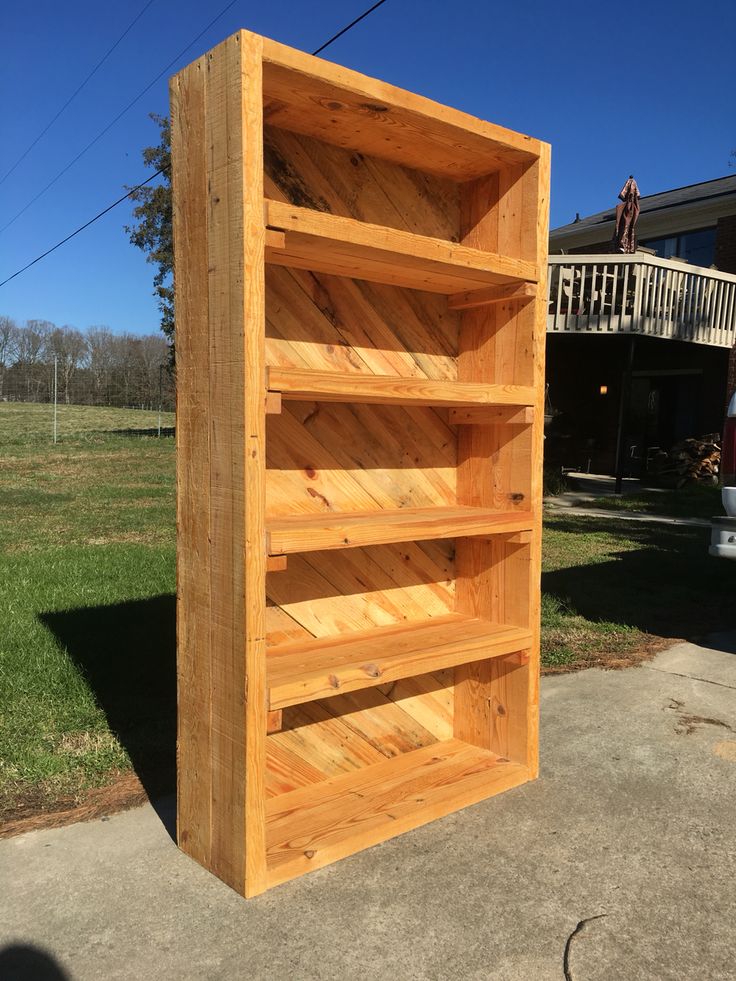
I measured and marked the wood carefully before cutting. For my bookshelf, I needed two side panels, five shelves, a top and bottom piece, and a backing panel. Remember: measure twice, cut once!
2. Assembling the Frame
I started by attaching the top and bottom panels to the side pieces. Wood glue and screws worked great for securing these joints. Clamps helped keep everything steady while I worked.
3. Attaching the Back Panel
Next, I cut a piece of thin plywood for the back panel and nailed it to the frame. This step added a lot of stability to the bookshelf and ensured it wouldn’t wobble.
4. Adding the Shelves
For fixed shelves, I used wood glue and screws to attach them at evenly spaced intervals. If you’d prefer adjustable shelves, you can drill holes and use shelf pins.
5. Sanding and Finishing
Sanding was essential to smooth out rough edges and surfaces. After wiping away the dust, I applied a natural wood stain. It really brought out the grain and gave the bookshelf a polished, professional look.
Tips I Learned Along the Way
- Choose the Right Wood: Hardwood plywood is durable and looks great when stained. If you’re on a budget, softwood works too.
- Use a Level: It’s tempting to skip this, but trust me, ensuring each shelf is level will save you frustration later.
- Don’t Rush the Finish: Let the stain or paint dry completely between coats for the best results.
Why You Should Try This
Building my bookshelf wasn’t just about saving money. It was a creative process that gave me a real sense of accomplishment. Plus, now I have a beautiful, functional piece that’s completely one of a kind.
Ready to Build Your Own?
If you’re excited to get started, I highly recommend checking out Ted’s Woodworking Plans. When I first discovered them, they completely changed the way I approached DIY projects. With over 16,000 plans, you’ll find step-by-step instructions for all kinds of woodworking projects, including bookshelves, cabinets, and more.
You can find them here. It’s a treasure trove of ideas and guidance for woodworkers at any skill level.
Disclosure: This post contains affiliate links. If you make a purchase through these links, I may earn a commission at no extra cost to you.
Discover more from WoodReality
Subscribe to get the latest posts sent to your email.

Pingback: How to Build a Wooden Desk: A Step-by-Step Guide for Beginners – WoodReality