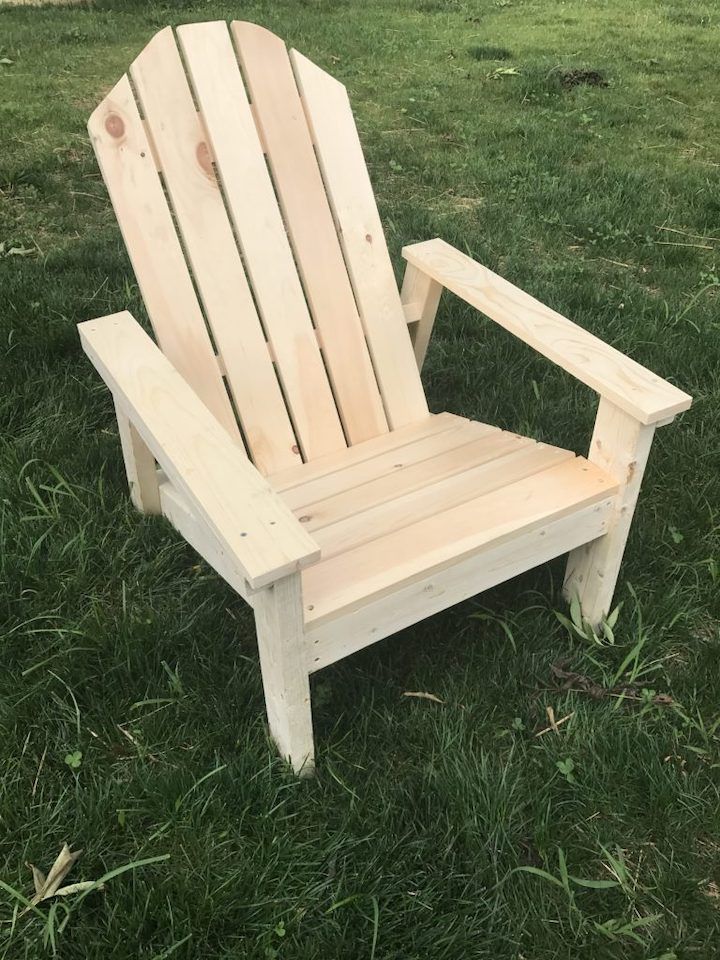
Building an Adirondack chair is one of the most rewarding woodworking projects. Whether you’re a beginner or an experienced woodworker, this project offers a great way to enhance your outdoor space with a stylish and comfortable chair. In this guide, I’ll walk you through everything you need to know to build your own Adirondack chair from scratch.
Why Build an Adirondack Chair?
- Classic Design: Adirondack chairs have a timeless look that suits any backyard, patio, or garden.
- Comfortable and Sturdy: The slanted seat and wide armrests make them one of the most comfortable outdoor chairs.
- Affordable to Build: Compared to buying one, building an Adirondack chair can save you money and let you customize it.
Materials and Tools You’ll Need
Materials:
- Pressure-treated or cedar wood (pine is also an option, but it requires sealing)
- 1 ¼-inch and 2-inch outdoor screws
- Wood glue (optional for extra durability)
- Sandpaper (80-grit and 120-grit)
- Exterior wood stain or paint
Tools:
- Circular saw or jigsaw
- Drill and drill bits
- Clamps
- Measuring tape
- Pencil and straight edge
- Safety goggles and gloves
Step-by-Step Instructions
Step 1: Cut the Wood Pieces
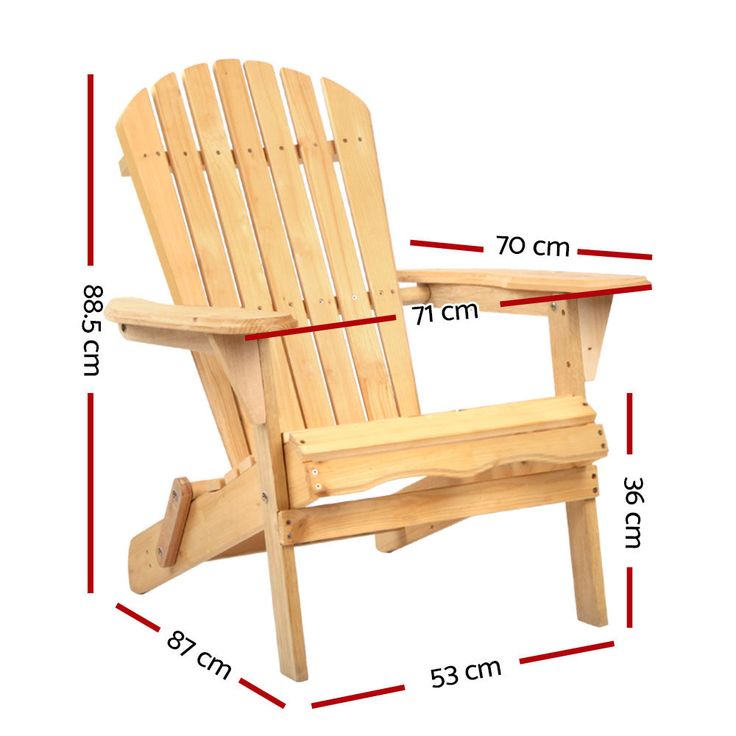
Start by cutting the necessary wood pieces according to these dimensions:
- Back slats: (5) 2” x 4” pieces, 32” long
- Seat slats: (5) 2” x 4” pieces, 22” long
- Front legs: (2) 2” x 4” pieces, 20” long
- Back legs: (2) 2” x 6” pieces, 36” long (cut at an angle)
- Armrests: (2) 2” x 6” pieces, 30” long
Use a circular saw or jigsaw to make precise cuts.
Step 2: Assemble the Frame
- Attach the back legs to the front legs using screws and wood glue.
- Install the seat supports, ensuring they are level and secure.
Step 3: Install the Seat Slats
- Place the seat slats evenly spaced across the seat supports.
- Secure them with screws.
Step 4: Attach the Backrest
- Position the back slats and secure them at the desired angle for comfort.
- Use clamps to hold them in place before driving screws.
Step 5: Add the Armrests
- Secure the armrests to the front legs and the top of the back slats.
- Double-check that they are level before fastening them.
Step 6: Sand and Finish
- Sand all surfaces to remove rough edges.
- Apply exterior wood stain or paint for protection against weather.
Adirondack Chair Variations
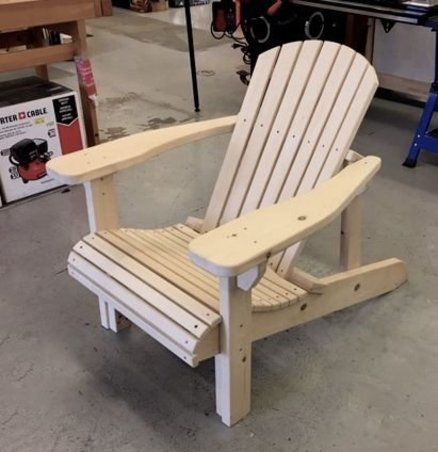
- Folding Adirondack Chair: If you want a portable version, you can modify the design with hinges.
- Adirondack Loveseat: Build a two-seat version for more seating.
- Rocking Adirondack Chair: Add curved rockers for a relaxing rocking chair.
Troubleshooting Common Issues
My Adirondack Chair Wobbles
- Ensure all screws are tight and double-check for level surfaces.
My Chair Isn’t Comfortable
- Adjust the backrest angle to increase comfort.
- Use wider armrests for better relaxation.
Related Articles
If you’re interested in more woodworking projects, check out:
- How to Build a Pallet Workbench – A great beginner-friendly project to improve your workspace.
- How to Build a Wood Pallet Bar – Another fun DIY project for entertaining guests.
- How to Build Shed Doors – A must-read if you’re working on outdoor woodworking projects.
Video Tutorial
For a visual guide, check out this helpful tutorial:
Conclusion
Building a wooden Adirondack chair is a rewarding woodworking project that adds beauty and functionality to your outdoor space. With the right materials, tools, and patience, you can craft a chair that will last for years.
If you’re passionate about woodworking and want access to thousands of step-by-step plans for all kinds of projects, I highly recommend checking out Ted’s Woodworking Plans or Ryan’s Shed Plans. These resources provide detailed instructions, diagrams, and material lists to make your woodworking journey even easier.
Affiliate Disclosure: This article contains affiliate links. If you purchase through these links, I may earn a small commission at no extra cost to you. This helps support the site and allows me to continue providing valuable woodworking content.
So, are you ready to build your own Adirondack chair? Grab your tools, follow this guide, and enjoy the satisfaction of DIY woodworking!
Discover more from WoodReality
Subscribe to get the latest posts sent to your email.

Pingback: How to Build a Wooden TV Stand: A Step-by-Step DIY Guide – WoodReality