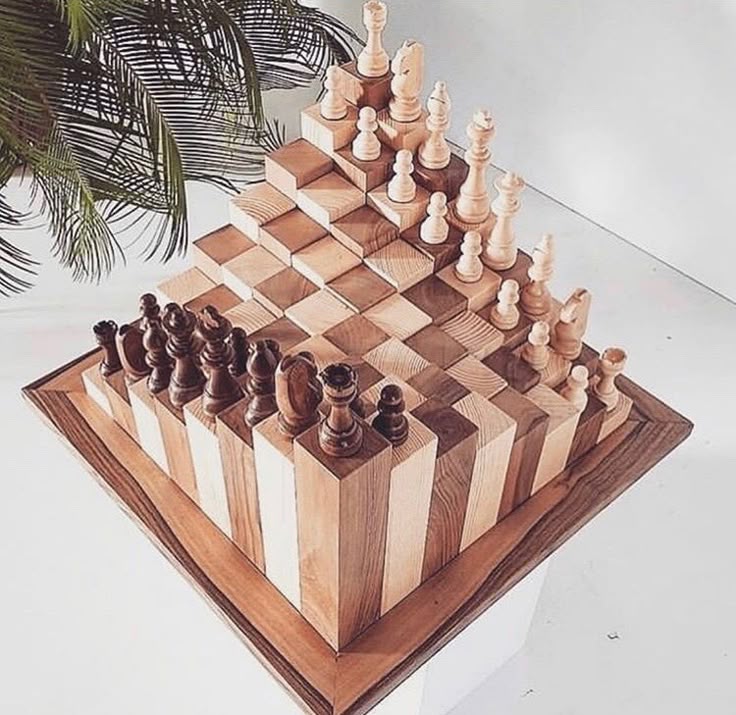
Introduction
When I first got into woodworking, I wanted to create something both practical and beautiful. That’s when I decided to craft my own wooden chessboard. Chess is a timeless game of strategy, and having a handcrafted chessboard adds a personal touch to the experience.
Whether you’re an experienced woodworker or just starting out, building your own DIY wooden chessboard is a rewarding project. Not only does it enhance your skills, but it also results in a unique, high-quality chess set that can last for generations.
In this guide, I’ll walk you through the process of creating a handmade wooden chessboard, from selecting the right materials to applying the perfect finish. By the end of this tutorial, you’ll have a beautiful, professional-quality chessboard that you can be proud of.
Step 1: Choosing the Right Wood for Your Chessboard
Selecting the right wood species is the foundation of a beautiful chessboard. Since the chessboard consists of alternating light and dark squares, choosing contrasting wood types is key.
Best Woods for Chessboards:
- Light Squares: Maple, Birch, Ash
- Dark Squares: Walnut, Mahogany, Rosewood
Factors to Consider When Choosing Wood:
- Durability: Hardwood is best since it resists scratches and dents.
- Grain Pattern: Fine-grained woods provide a smoother finish.
- Workability: Choose wood that cuts and sands easily.
I personally recommend using maple for light squares and walnut for dark squares because they provide a strong contrast and a classic look.
Step 2: Cutting the Chessboard Squares with Precision
A standard chessboard consists of 64 squares (8×8 grid). Each square should be exactly the same size for a symmetrical design.
Steps to Cut the Squares:
- Measure and mark each square precisely (typically 2 inches x 2 inches).
- Use a table saw or miter saw for accurate cuts.
- Ensure all squares are identical in size for a seamless fit.
Pro Tip:
- Double-check measurements before cutting. Even a slight miscalculation can throw off the entire pattern.
Step 3: Assembling the Chessboard Pattern
Now that the squares are cut, it’s time to assemble the checkerboard pattern.
How to Arrange and Glue the Chessboard:
- Lay out the squares in an alternating pattern to form the classic chessboard design.
- Apply wood glue to the edges of each square.
- Clamp the board together to prevent shifting while the glue dries.
- Wipe off any excess glue before it hardens.
Drying Time:
Let the glue dry for at least 24 hours before proceeding to the next step.
Step 4: Trimming and Sanding the Chessboard
Once the glue has fully dried and the squares are securely bonded together, it’s time to refine the board’s shape by trimming and sanding. This step ensures that your chessboard is perfectly square and smooth, giving it a professional finish.
Trimming the Edges for a Perfect Fit
Even if you’ve measured and cut precisely, there might be slight unevenness in the edges. Here’s how to fix it:
- Check for Uneven Edges: Place the chessboard on a flat surface and see if any sides stick out.
- Use a Circular Saw or Table Saw: Carefully trim the edges to achieve a perfect square shape.
- Measure Again: Always confirm that all sides are even before proceeding to sanding.
Sanding the Surface Smooth
Sanding is a crucial step that enhances the texture, look, and feel of the chessboard. Follow these steps:
- Start with 120-Grit Sandpaper: This removes any rough spots and excess glue residue.
- Move to 220-Grit Sandpaper: This finer grit smooths out the wood surface, preparing it for finishing.
- Sand in the Direction of the Grain: This prevents scratches and ensures a polished, professional look.
Pro Tip:
- Lightly dampen the surface with water before the final sanding. This raises the wood grain slightly, allowing you to sand it down again for an ultra-smooth finish.
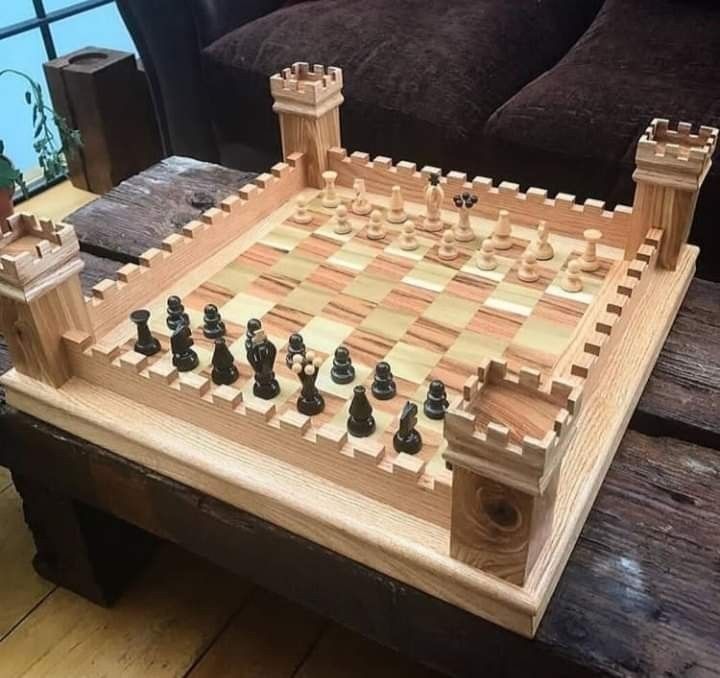
Step 5: Adding a Wooden Border and Frame for Durability
To enhance both the appearance and durability of your chessboard, adding a wooden border is a great finishing touch. This border helps protect the edges of the board from damage while adding a sophisticated, high-end look.
Choosing the Right Wood for the Border
For a seamless appearance, the border should complement the chessboard’s color scheme:
- For a maple-and-walnut chessboard: Use walnut for the border to maintain contrast.
- For a mahogany-and-birch board: Consider mahogany or cherry wood for a warm, rich frame.
Cutting and Attaching the Border
- Measure and Cut Border Pieces: Cut four strips of wood to match the dimensions of the board.
- Miter the Corners at a 45° Angle: This creates a professional, frame-like effect.
- Glue and Clamp the Border: Apply wood glue and use clamps to secure the frame while it dries.
- Nail for Extra Strength (Optional): If you want extra durability, use small finishing nails along the edges.
Finishing the Border for a Polished Look
- Sand the border thoroughly to ensure smooth joints.
- Fill any tiny gaps with wood filler for a seamless appearance.
- The border should blend smoothly with the chessboard for a high-quality, store-bought look.
Step 6: Sanding and Applying the Finish
With the chessboard assembled and framed, the next step is applying a beautiful finish to protect the wood and bring out its natural beauty.
Final Sanding for a Perfect Surface
- Use 220-Grit Sandpaper: This ensures the board is perfectly smooth.
- Remove Dust: Wipe the board with a damp cloth or use a vacuum to eliminate any dust particles.
Choosing the Right Finish
There are several finishing options based on the look you want:
- Clear Polyurethane: Best for a natural, glossy finish with strong protection.
- Tung Oil or Danish Oil: Enhances the natural grain while adding durability.
- Shellac or Lacquer: Provides a warm, slightly vintage finish.
Applying the Finish Step-by-Step
- Apply a Thin Coat: Use a foam brush or lint-free cloth.
- Let it Dry Completely: Drying time varies by product (check label instructions).
- Sand Lightly Between Coats: Use 400-grit sandpaper for an ultra-smooth surface.
- Apply 2-3 More Coats: This builds a strong protective layer.
Once the final coat dries, the chessboard will have a rich, polished, and professional finish.
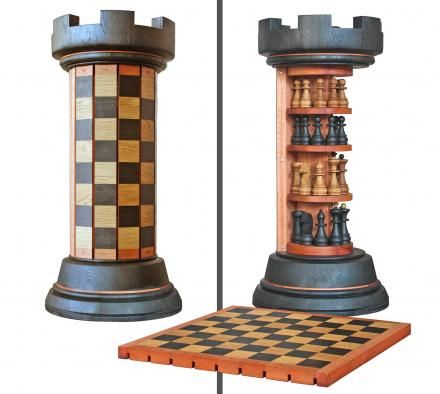
Step 7: Creating a Storage Compartment for Chess Pieces (Optional)
If you want to add functionality to your chessboard, a hidden storage compartment is a great feature. This allows you to store your chess pieces inside the board, making it more practical.
How to Design a Storage Compartment
- Choose the Right Board Thickness: The base of the chessboard should be at least 1 inch thick to accommodate storage space.
- Hollow Out a Section Underneath: Use a router or chisel to carve out a compartment.
- Install a Hinged Lid: Attach small brass hinges to create a fold-out or sliding storage lid.
- Add Dividers (Optional): Use thin wooden strips inside the compartment to separate chess pieces neatly.
Adding a storage compartment makes your chessboard more versatile and user-friendly, especially if you plan to use it regularly.
Step 8: Polishing and Final Touches
Now that the chessboard is complete, the last step is polishing and adding final details.
Final Touches to Enhance the Chessboard
- Buffing the Surface: Use a soft microfiber cloth to enhance the shine.
- Fixing Small Imperfections: If any glue marks or scratches remain, lightly sand and touch up the finish.
- Ensuring the Board is Level: Place it on a flat surface and check for balance.
A well-polished chessboard has a professional feel and makes playing chess more enjoyable.
Step 9: Making or Buying Chess Pieces
Carving Your Own Chess Pieces
- If you enjoy woodworking, you can use a lathe and chisels to carve your own set.
- Use walnut or maple for a consistent look.
Buying a Wooden Chess Set
- If carving is too challenging, purchase a high-quality set that matches the board.
- Ensure the king piece fits well within a single square.
Step 10: Maintaining Your Wooden Chessboard for Longevity
A handmade wooden chessboard can last for decades if properly maintained.
Care and Maintenance Tips:
- Keep it away from moisture: Wood can warp over time.
- Wipe regularly: Use a soft, dry cloth to remove dust.
- Reapply Finish as Needed: Apply a fresh coat of polyurethane or wood oil every few years.
- Store Chess Pieces Properly: If you added storage, keep the pieces safely inside.
With the right care, your chessboard will remain beautiful and functional for generations.
Conclusion
Building my own wooden chessboard was an amazing experience that tested my skills and patience. The end result was worth every minute, and now I have a handcrafted chessboard that I can cherish forever.
If you love woodworking or chess, I highly recommend trying this project. It may take some time, but the sense of accomplishment is truly rewarding.
Want to Master More DIY Woodworking Projects?
If you enjoyed this project and want to take your woodworking skills to the next level, I highly recommend Teds Woodworking Plans. With 16,000+ step-by-step woodworking blueprints, you can build amazing projects with confidence.
👉 Click here to check out Teds Woodworking Plans!
Affiliate Disclosure:
This article contains affiliate links, meaning I may earn a small commission if you purchase through my link. This helps support my work at no extra cost to you.
Discover more from WoodReality
Subscribe to get the latest posts sent to your email.
