A wooden headboard can add warmth, character, and a custom touch to any bedroom. Rather than buying an expensive one from a store, why not build your own? Not only will it be unique, but you’ll also have the satisfaction of knowing you created something special with your own hands.
In this detailed step-by-step guide, I’ll walk you through the process of building a DIY wooden headboard that is both stylish and sturdy. I’ll also share some personal tips from my experience to help make the project easier.
Why Build a DIY Wooden Headboard?
Before diving into the process, let’s talk about why making a DIY wooden headboard is a great idea:
✅ Cost-effective – Buying a high-quality wooden headboard can cost hundreds of dollars, whereas making one yourself can be done for a fraction of the price.
✅ Customization – You get to choose the type of wood, color, stain, and design that best fits your bedroom decor.
✅ Satisfaction – There’s something incredibly rewarding about building furniture with your own hands.
✅ Durability – Store-bought furniture often uses particleboard, but a solid wood DIY headboard will last for years.
Now that you know the benefits, let’s get started!
Materials and Tools You’ll Need
Materials
Before heading to the hardware store, make a list of all the materials you’ll need:
- Wood boards – Choose the type of wood based on your budget and style (pine, oak, cedar, or reclaimed wood).
- Sandpaper – To smooth out rough edges (80-grit for initial sanding, 220-grit for a fine finish).
- Wood stain or paint – To match your bedroom decor.
- Polyurethane sealant – For a protective finish.
- Wood screws – 1.5 to 2 inches long.
- Wood glue – For extra strength.
- Wall mounting brackets or bed frame brackets – Depending on how you want to attach the headboard.
Tools
Having the right tools will make the project much easier:
- Measuring tape – To ensure accuracy.
- Saw (circular or miter saw) – For cutting the wood.
- Drill & screwdriver – For attaching boards together.
- Sander (or sanding block) – To achieve a smooth finish.
- Clamps – To hold boards together while drying.
- Level – To ensure everything is straight.
Step-by-Step Guide to Building a DIY Wooden Headboard
Step 1: Measure and Plan Your Headboard
Start by measuring your bed frame to determine how wide your headboard should be. Here are common headboard widths:
- Twin – 39 inches
- Full – 54 inches
- Queen – 60 inches
- King – 76 inches
Decide on the height of your headboard as well. A taller headboard (around 48 inches) makes a bold statement, while a lower one (24-36 inches) creates a more subtle look.
Sketch out a simple design to visualize how the headboard will look.
Step 2: Select and Cut the Wood
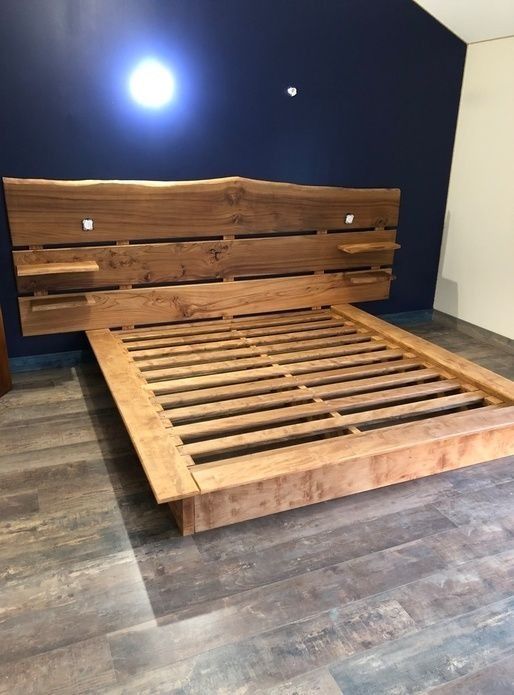
Pick the best-quality boards you can find. If you want a rustic look, reclaimed wood is a great option.
Cut the wood to the following dimensions:
- For a plank-style headboard, cut six or more boards of equal length.
- For a solid slab headboard, use one large sheet of plywood.
- For a framed look, cut additional boards for the border.
Step 3: Sand and Prepare the Wood
Sanding is a crucial step to prevent splinters and ensure a smooth finish.
- Start with 80-grit sandpaper to remove rough areas.
- Move up to 220-grit sandpaper for a fine, smooth surface.
- Wipe off any dust with a damp cloth.
Step 4: Assemble the Headboard
There are several ways to assemble your headboard, depending on your design:
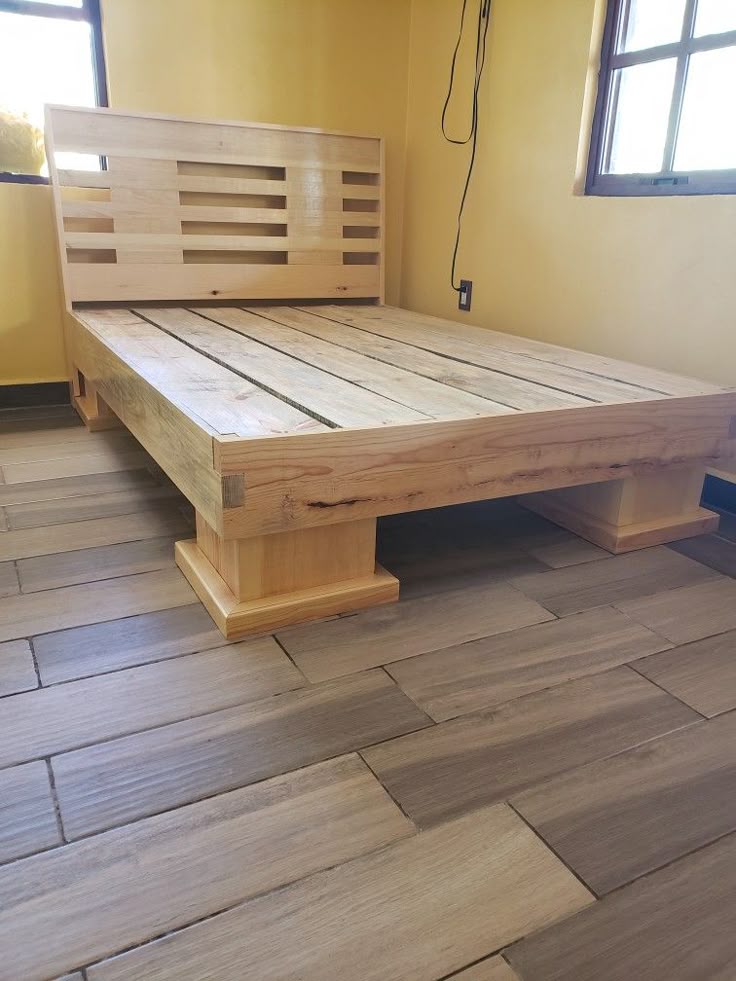
Method 1: Horizontal Plank Design
- Lay the wooden planks side by side on a flat surface.
- Apply wood glue between the boards.
- Secure them by screwing two horizontal support boards across the back.
Method 2: Framed Headboard
- Attach a border around the edges of the wood using screws and wood glue.
- This gives the headboard a polished, professional look.
Step 5: Staining or Painting
Now it’s time to add some color!
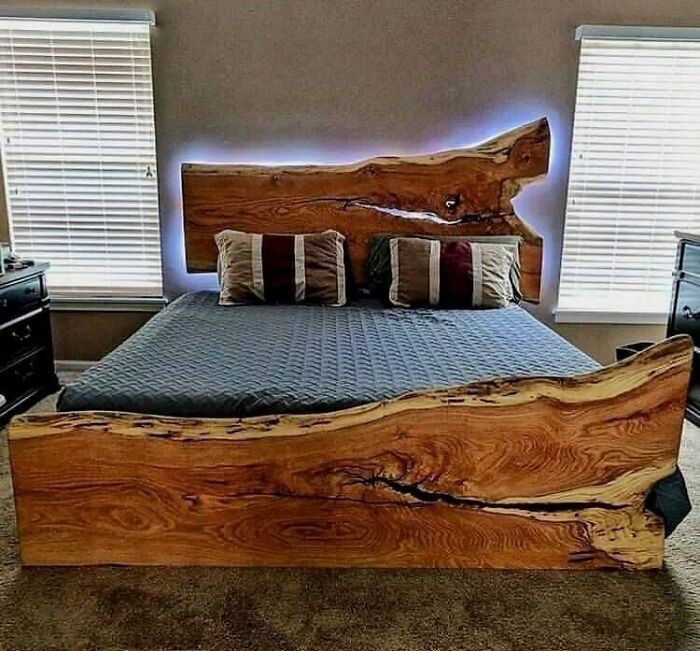
- For a rustic look: Use a dark wood stain like walnut or mahogany.
- For a modern look: Paint the headboard with matte black or white paint.
How to apply stain:
- Use a brush or rag to apply the stain evenly.
- Let it sit for 5-10 minutes.
- Wipe off excess stain with a clean cloth.
- Let dry for at least 24 hours.
How to apply paint:
- Use a primer first to help the paint adhere.
- Apply 2-3 coats of paint, letting each layer dry before adding the next.
Step 6: Sealing the Wood
To protect the headboard from moisture and scratches, apply a polyurethane sealant.
- Use a brush to apply a thin, even coat.
- Let it dry completely before adding another coat.
- Lightly sand between coats for the best results.
Step 7: Mounting the Headboard
Option 1: Attach to the Bed Frame
- Drill holes in the legs of the headboard and secure it to the bed frame using bolts.
Option 2: Mount on the Wall
- Use wall brackets or a French cleat to attach the headboard securely to the wall.
Final Touches and Customization
Now that your headboard is complete, consider adding personal touches:
- LED string lights – For a cozy, modern vibe.
- Shelving – Attach small shelves to hold books or decorative items.
- Padded Upholstery – Wrap a section in fabric or leather for added comfort.
Watch a Step-by-Step Video Guide
For a visual tutorial, check out this YouTube video:
Read Also:
How I Built a Sturdy Wooden Bed Frame (Step-by-Step DIY Guide)
Want More DIY Woodworking Plans?
If you loved this project and want to take your woodworking skills to the next level, I highly recommend Ted’s Woodworking Plans.
🔹 Over 16,000 woodworking plans for furniture, decor, and more.
🔹 Step-by-step instructions for all skill levels.
🔹 Detailed material lists to make every project easy.
👉 Click here to check out Ted’s Woodworking Plans!
(Affiliate Disclosure: I may earn a commission from purchases made through this link, at no extra cost to you.)
Conclusion
Building a DIY wooden headboard is a fun and rewarding project that adds a custom touch to your bedroom. Whether you choose a rustic, modern, or classic design, this project allows for creativity and personalization.
So grab your tools, start building, and enjoy the satisfaction of creating a beautiful piece of furniture with your own hands!
Discover more from WoodReality
Subscribe to get the latest posts sent to your email.
