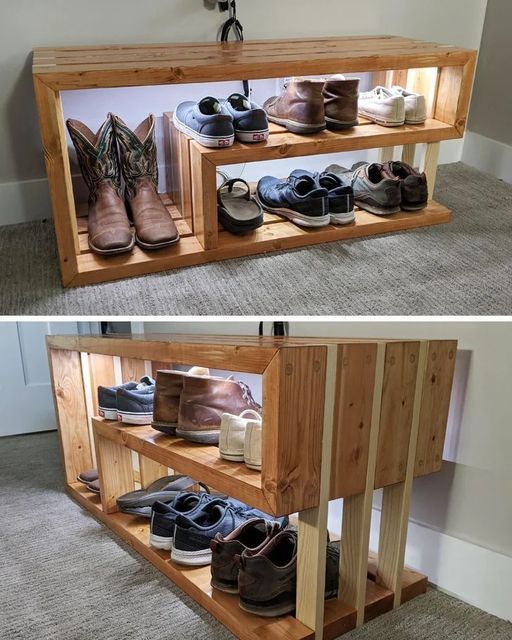
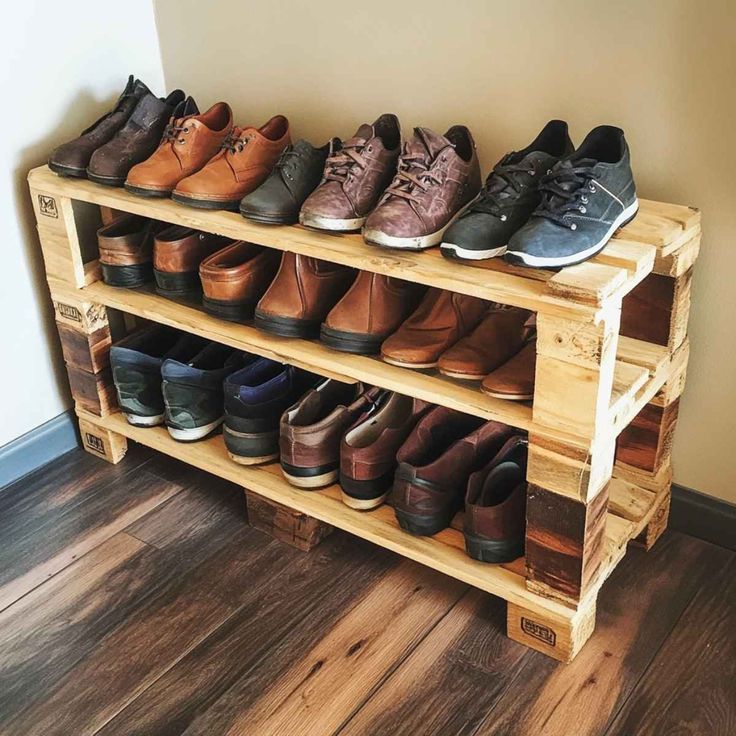
In today’s world, maintaining an organized living space is essential for both functionality and aesthetics. One common challenge many of us face is managing the clutter of shoes at our entryways or closets. To tackle this issue, I embarked on a project to build a DIY wooden shoe rack. This endeavor not only provided a practical storage solution but also added a personalized touch to my home decor. In this detailed guide, I’ll share my experience and provide you with a step-by-step approach to constructing your own wooden shoe rack, ensuring it’s both functional and stylish.
Materials and Tools Required
Before diving into the construction process, it’s crucial to gather all necessary materials and tools. Having everything on hand will streamline the project and prevent unnecessary delays.
Materials:
- Wood Boards: I selected pine boards for their durability and smooth finish. Depending on your preference, hardwoods like oak or maple can also be used.
- Screws: 1.5-inch wood screws are ideal for securing the components together.
- Wood Glue: To reinforce joints and enhance the rack’s stability.
- Sandpaper: Various grits (80, 120, 220) for smoothing surfaces and edges.
- Wood Stain or Paint: To finish the rack, protecting the wood and matching your interior decor.
- Protective Finish: Such as polyurethane to seal the wood and prolong its lifespan.
Tools:
- Measuring Tape: For accurate measurements.
- Saw: A circular saw or miter saw works best, but a handsaw can suffice.
- Drill and Drill Bits: Essential for creating pilot holes and driving screws.
- Screwdriver: Preferably electric to ease the process.
- Clamps: To hold pieces together as the glue sets.
- Brushes or Rags: For applying stain or paint.
- Safety Gear: Including gloves, safety glasses, and a dust mask.
Step 1: Planning and Design
The first phase involves planning the design of your shoe rack. Consider the following factors:
- Space Availability: Measure the area where you intend to place the rack to determine its dimensions.
- Storage Needs: Assess the number of shoes you need to store and their types (heels, sneakers, boots) to decide on the number of shelves and their spacing.
- Aesthetic Appeal: Decide on the style—modern, rustic, minimalist—and choose the wood type and finish accordingly.
For my project, I had a 48-inch wide space near the entryway. I designed a three-tier rack, each shelf measuring 12 inches deep and 16 inches apart to accommodate various shoe sizes, including boots.
Step 2: Cutting the Wood
With a clear plan in place, proceed to cut the wood pieces:
- Side Panels: Two pieces, each 36 inches tall and 12 inches deep.
- Shelves: Three pieces, each 48 inches wide and 12 inches deep.
- Back Support: One piece, 48 inches wide and 6 inches tall, to enhance stability.
Ensure all cuts are precise. After cutting, sand each piece thoroughly, starting with 80-grit sandpaper and progressing to 220-grit for a smooth finish.
Step 3: Assembling the Frame
Begin by constructing the frame:
- Attach the Back Support: Lay the side panels flat and position the back support between them, 6 inches from the bottom. Apply wood glue to the contact edges.
- Secure with Screws: Drill pilot holes to prevent wood splitting, then insert the screws to fasten the back support to the side panels.
This back support not only stabilizes the frame but also prevents shoes from sliding off the back.
Step 4: Installing the Shelves
With the frame upright:
- Position the Bottom Shelf: Place it on the back support, ensuring it’s level. Apply wood glue to the contact points.
- Secure the Shelf: Drill pilot holes through the side panels into the shelf ends and insert screws.
- Repeat for Middle and Top Shelves: Space them 12 inches apart (or adjust based on your shoe sizes), ensuring each shelf is level before securing.
Clamps can be helpful to hold shelves in place as you work.
Step 5: Finishing Touches
After assembly:
- Final Sanding: Smooth any rough edges or surfaces.
- Apply Stain or Paint: Choose a color that complements your decor. Apply evenly with a brush or rag, following the wood grain.
- Seal the Wood: Once the stain or paint dries, apply a protective finish like polyurethane to shield against wear and moisture.
Allow the rack to dry completely in a well-ventilated area before use.
Free Blueprint for Your DIY Shoe Rack
Visual aids can significantly enhance the building process. During my research, I found a detailed blueprint that closely aligns with the design I implemented. You can access the free PDF plan here: DIY Shoe Shelf Closet Plans. This resource provides comprehensive instructions, measurements, and illustrations to guide you through each step.

Customization Ideas
Personalizing your shoe rack can make it uniquely yours. Consider these customization options:
- Color Choices: Match the rack to your interior by selecting stains or paints that complement existing furniture.
- Additional Features: Incorporate hooks on the sides for keys or umbrellas, or add a top cushion to double as a seating bench.
- Decorative Elements: Carve designs into the side panels or use decorative brackets to enhance visual appeal.
YouTube Video Tutorial
For a visual walkthrough of a similar DIY wooden shoe rack project, watch this YouTube video:
Exploring Further Woodworking Projects
Building this shoe rack was a fulfilling experience that sparked my interest in more woodworking projects.
If you’re eager to expand your skills and undertake new challenges, I recommend exploring Teds Woodworking Plans. They offer an extensive collection of over 16,000 detailed plans suitable for all skill levels, from novice to expert. Whether you’re interested in crafting furniture, outdoor structures, or decorative pieces, there’s a project for everyone.
Affiliate Disclosure: As an affiliate, I may earn a commission at no extra cost to you if you purchase through the link provided. This supports my DIY endeavors and enables me to share more projects and insights with you.
Conclusion
Constructing a DIY wooden shoe rack is a practical solution to declutter your space and showcase your craftsmanship. With the right materials, tools, and guidance, you can create a piece that’s both functional and aesthetically pleasing. Embrace the process, customize to your liking, and enjoy the satisfaction of building something with your own hands.
FAQs
- Can I modify the dimensions of the shoe rack?
- Absolutely! Tailor the measurements to fit your available space and storage needs.
- What type of wood is recommended for this project?
- Pine is a cost-effective choice, but hardwoods like oak or maple offer enhanced durability and a premium finish.
- Is this project suitable for beginners?
Yes! This project is beginner-friendly. It requires basic woodworking skills and simple tools. As long as you measure accurately and follow the steps carefully, you can successfully build this shoe rack.
- How long does it take to complete the project?
- On average, it takes a weekend to complete, including cutting, assembly, and finishing. However, drying time for paint or stain may extend the process.
- Can I use nails instead of screws?
- While nails can be used, screws provide better stability and longevity, making the shoe rack more durable.
Building your own shoe rack is a rewarding experience that combines creativity with functionality. Whether you’re new to woodworking or an experienced DIY enthusiast, this project is a great way to enhance your skills while adding value to your home.
Discover more from WoodReality
Subscribe to get the latest posts sent to your email.
