Creating a wooden wall clock is one of the most satisfying woodworking projects you can take on. Not only is it a functional timepiece, but it also adds a touch of rustic charm or modern elegance to your home, depending on the design you choose.
Whether you are a beginner or an experienced woodworker, building a custom wooden clock allows you to explore your creativity and craftsmanship. In this guide, I’ll take you through every step of the process, from selecting the right materials to adding the finishing touches.
By the end of this article, you’ll have a fully functional wooden wall clock that you made with your own hands!
Let’s dive in!
Materials and Tools Needed
Before we start, let’s gather everything required to complete this project. Having the right materials and tools on hand will make the process smoother and more enjoyable.
Materials:
- Wooden Board – Choose a high-quality board such as birch, pine, oak, or walnut. The thickness should be at least 1 inch for durability.
- Clock Movement Kit – This includes the clock hands, movement mechanism, and mounting hardware. You can purchase these online or at craft stores.
- Sandpaper – You will need 120-grit and 220-grit sandpaper for smoothing the wood.
- Wood Stain or Paint – Optional, but recommended for finishing and protecting the wood.
- Clear Varnish or Sealant – To add a layer of protection against moisture and dust.
- Wood Glue – If you’re assembling multiple pieces or reinforcing weak areas.
- Measuring Tape and Pencil – Essential for accurate measurements and markings.
Tools:
- Jigsaw or Circular Saw – For cutting the wood into the desired shape.
- Drill with Hole Saw Bit – To create a hole for the clock mechanism.
- Clamps – To hold the wood securely while cutting.
- Wood Router (Optional) – To create smooth and rounded edges.
- Paintbrushes or Rags – For applying stain, paint, or sealant.
- Screwdriver – For assembling and securing the clock mechanism.
Step 1: Designing Your Wooden Clock
Choose a Shape and Style
The first step in making your wooden clock is deciding on the shape and style. Some common designs include:
- Traditional Round Clock – A classic look that fits into most home décor styles.
- Square or Rectangular Clock – A modern and sleek option.
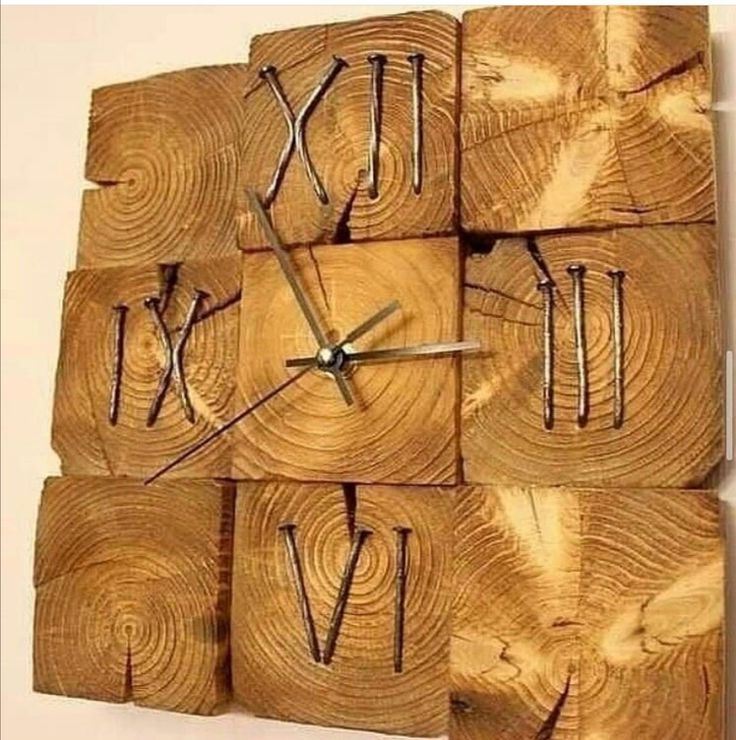
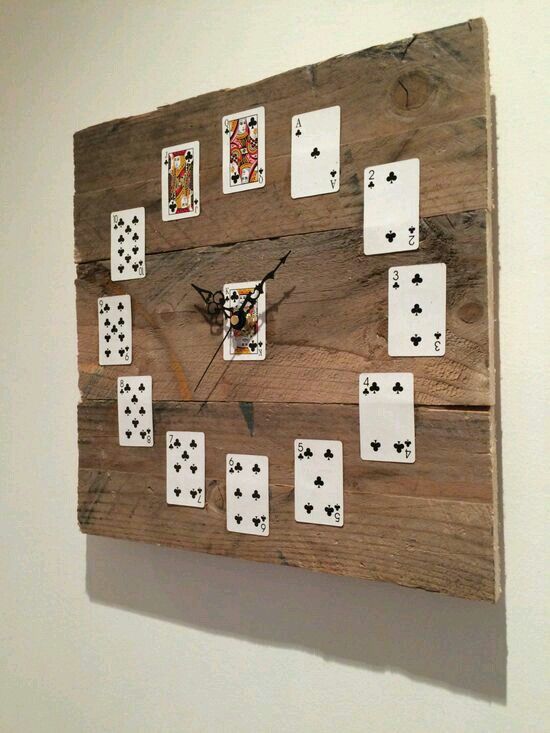
- Rustic Wooden Plank Clock – Uses reclaimed wood for a farmhouse aesthetic.
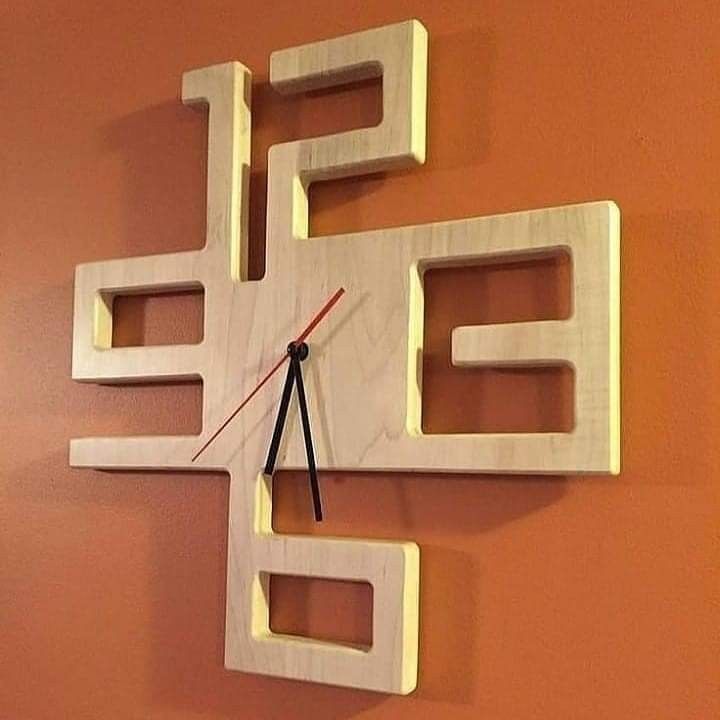
- Geometric or Artistic Clock – Unique shapes like hexagons, triangles, or abstract patterns for a creative touch.
Once you’ve chosen a shape, use a pencil and measuring tape to mark the dimensions on your wooden board.
Step 2: Cutting the Wood
- Secure the Wood
- Place the wooden board on a sturdy work surface.
- Use clamps to hold it in place to prevent movement while cutting.
- Cut the Outer Shape
- Using a jigsaw or circular saw, carefully cut along the marked outline.
- If your design has curves, use a jigsaw for better control.
- Take your time to ensure clean, smooth edges.
- Drill a Hole for the Clock Mechanism
- Find the exact center of your clock using a ruler.
- Mark the center and use a hole saw bit to drill an opening large enough for the clock movement kit.
Step 3: Sanding and Smoothing
Once the wood is cut, it’s time to smooth out any rough edges and prepare it for finishing.
- Start with 120-Grit Sandpaper
- Use coarse sandpaper to remove any splinters and rough patches.
- Follow with 220-Grit Sandpaper
- Once the surface is smooth, use finer 220-grit sandpaper for a polished finish.
- If you want rounded edges, you can use a wood router to create soft curves.
Step 4: Staining or Painting the Wood
At this stage, you can customize the look of your clock by applying a stain or paint.
Staining for a Natural Look
- If you love the natural beauty of wood, choose a wood stain that enhances the grain.
- Apply with a brush or rag, following the wood grain.
- Wipe off excess stain and let it dry completely.
Painting for a Bold Design
- If you prefer a modern or colorful look, apply a coat of paint.
- Choose a neutral tone for a minimalistic clock or a bright color for a statement piece.
Sealing the Wood
- Once the stain or paint dries, apply a clear varnish or wood sealant to protect the surface.
- Let it dry for at least 24 hours before handling.
Step 5: Installing the Clock Mechanism
- Insert the Clock Movement
- Push the clock movement mechanism through the drilled hole.
- Secure it tightly using the provided hardware.
- Attach the Clock Hands
- Follow the manufacturer’s instructions to install the hour, minute, and second hands.
- Make sure they move freely and do not touch each other.
- Test the Clock
- Insert a battery and check if the hands are moving correctly.
- Adjust if necessary.
Step 6: Mounting the Clock on the Wall
- Attach a Hanging Bracket
- Depending on the weight of your clock, use a sturdy wall hook or picture hanging bracket.
- Measure and Mount
- Use a ruler and level to mark the correct position on the wall.
- Hang the clock securely and check that it is straight.
Watch a Video Tutorial
To see a step-by-step demonstration of this project, check out this helpful YouTube video:
Final Thoughts
Building a wooden wall clock is a fantastic way to develop your woodworking skills while creating something unique for your home. With patience and attention to detail, you can craft a stunning timepiece that you’ll be proud to display!
If you’re passionate about woodworking and want access to 16,000+ detailed plans, I highly recommend checking out Ted’s Woodworking Plans. It’s the ultimate resource for DIY enthusiasts and professionals alike!
👉 Click Here to Get Instant Access to Ted’s Woodworking Plans!
(Affiliate Disclaimer: This post contains affiliate links. I may earn a commission at no extra cost to you, which helps support my work and future projects.)
FAQs
1. What type of wood is best for making a clock?
Hardwoods like oak, maple, and walnut offer durability, while birch and pine are budget-friendly choices.
2. Can I make a wooden clock without power tools?
Yes! You can use a handsaw, sandpaper, and hand drill, but it will take more time and effort.
3. Where can I buy clock movements?
You can find them online on Amazon, eBay, or at local craft stores.
4. How can I customize my clock further?
Consider engraving a design, using metallic accents, or adding LED lights for a modern touch.
5. What if my clock hands get stuck?
Ensure they are not touching each other and adjust their positioning if needed.
I hope you found this guide helpful! If you build your own wooden wall clock, let me know how it turns out. Don’t forget to check out Ted’s Woodworking Plans for even more amazing DIY projects!
Happy woodworking! 🛠️🔨
Discover more from WoodReality
Subscribe to get the latest posts sent to your email.
