Woodworking is a craft that blends creativity, precision, and patience. Whether you’re a beginner crafting your first birdhouse or a seasoned pro building custom furniture, every woodworker wants to work smarter, not harder. That’s where woodworking hacks come in—clever shortcuts and techniques that save time, reduce costs, and make your projects look professional without breaking the bank.
In this ultimate guide, we’ve compiled 15 genius woodworking hacks that will transform your workflow, boost your efficiency, and keep more money in your pocket. From tool tricks to material-saving tips, these hacks are practical, easy to implement, and perfect for woodworkers of all skill levels. Plus, we’ll share insider secrets to help you avoid common mistakes and achieve stunning results every time.
Why These Hacks Matter: Time is money, and in woodworking, wasted materials or hours spent on trial and error can add up fast. These hacks are designed to streamline your process, minimize waste, and make your projects more enjoyable. Ready to level up your woodworking game? Let’s dive in!
Table of Contents
- Use Painter’s Tape for Cleaner Cuts
- Create a DIY Sanding Block from Scrap Wood
- Repurpose Coffee Cans for Dust Collection
- Master the Art of Measuring with a Story Stick
- Save Money with Reclaimed Wood Sourcing
- Use a Hot Glue Gun for Temporary Jigs
- Prevent Tearout with a Sacrificial Board
- Organize Your Workshop with PVC Pipe Storage
- Make Perfect Pocket Holes Without a Jig
- Extend Tool Life with Proper Blade Cleaning
- Use Baking Soda to Remove Wood Glue Mistakes
- Create Custom Clamps with PVC and Wood
- Speed Up Finishing with a Spray Bottle
- Mark Your Tools with Colored Tape for Easy Identification
- Build a Quick-and-Dirty Workbench for Under $20
- Bonus: Where to Find 50 Free Woodworking Plans
- FAQs
- Affiliate Disclosure
1. Use Painter’s Tape for Cleaner Cuts
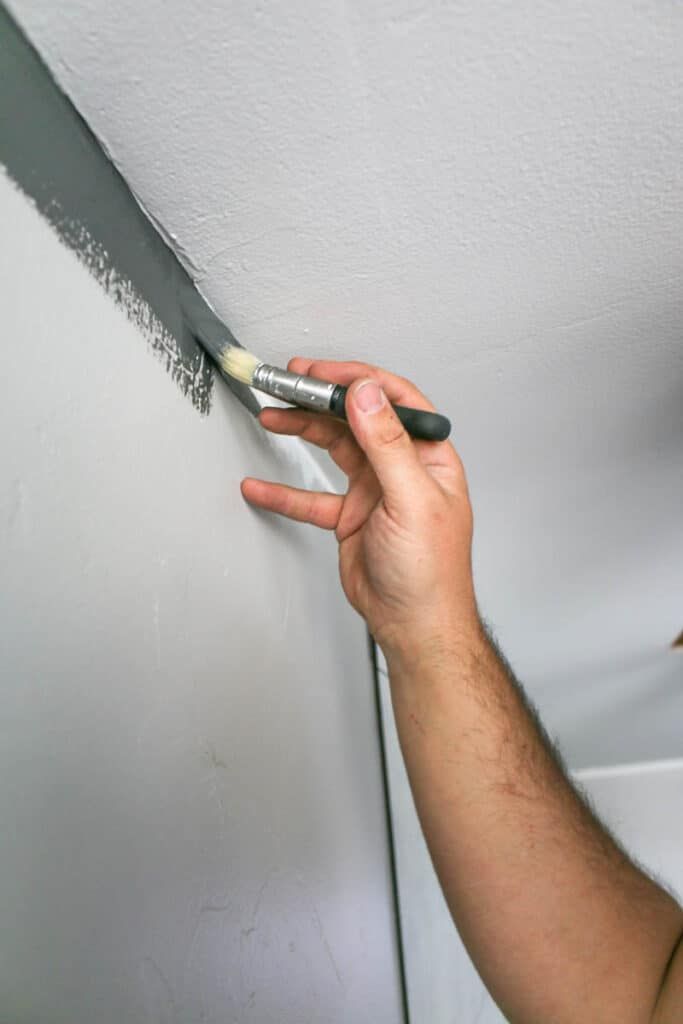
Why It Works: One of the most frustrating issues in woodworking is tearout—those jagged edges that appear when cutting plywood or delicate woods. Painter’s tape acts as a stabilizer, reducing splintering and ensuring clean, professional-looking cuts.
How to Do It:
- Apply a strip of painter’s tape over the cut line on both sides of the wood.
- Use a sharp, fine-tooth blade (at least 60 teeth for a circular saw).
- Score the cut line lightly with a utility knife before cutting to further reduce tearout.
- Peel off the tape gently after the cut to avoid pulling up wood fibers.
Pro Tip: For extra precision, combine this hack with a straightedge guide to keep your saw on track.
SEO Keywords: “prevent tearout woodworking,” “clean cuts plywood DIY” Visual Idea: Include a before-and-after photo showing a cut with and without painter’s tape.
This hack saves you from sanding or patching up rough edges, saving both time and effort. It’s a game-changer for projects like bookshelves or cabinetry where clean edges are non-negotiable.
2. Create a DIY Sanding Block from Scrap Wood
Why It Works: Sanding blocks ensure even pressure and prevent over-sanding, but store-bought ones can be pricey. A DIY sanding block made from scrap wood is free and customizable.
How to Do It:
- Cut a 3×5-inch piece of scrap wood (hardwood like oak works best for durability).
- Wrap sandpaper around the block and secure it with double-sided tape or staples.
- For ergonomic handling, round the edges slightly with a router or sandpaper.
- Label the block with the grit number to stay organized.
Pro Tip: Make multiple blocks for different grits (e.g., 80, 120, 220) to switch quickly during projects.
SEO Keywords: “DIY sanding block woodworking,” “cheap woodworking tools” Visual Idea: Share a step-by-step infographic showing the sanding block creation process.
This hack saves you from buying expensive sanding tools and repurposes scraps you’d otherwise toss, keeping your workshop budget-friendly.
3. Repurpose Coffee Cans for Dust Collection
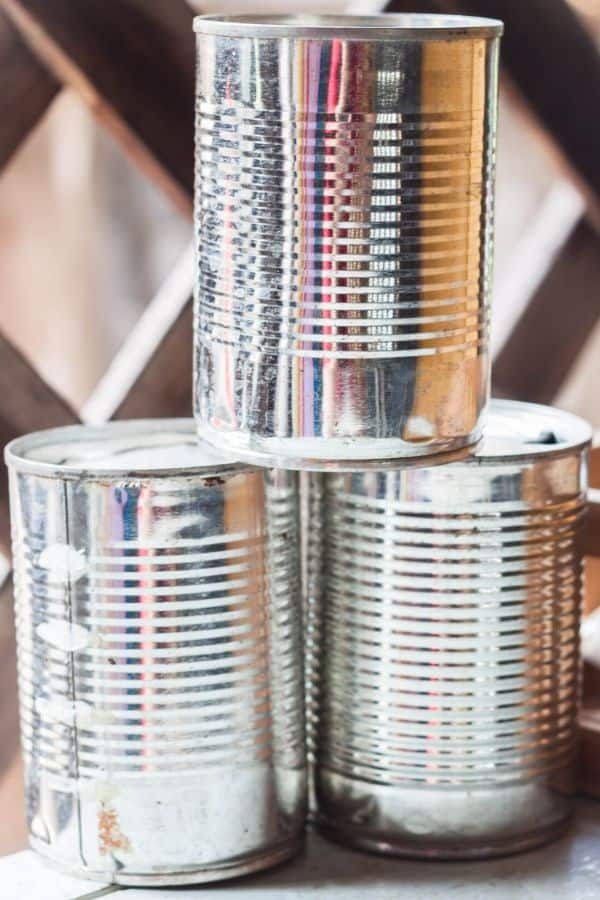
Why It Works: Sawdust is a constant battle in woodworking, clogging tools and creating a mess. Repurposed coffee cans make affordable, effective dust collection containers for small shop vacs or routers.
How to Do It:
- Clean an empty metal or plastic coffee can thoroughly.
- Drill a hole in the lid to fit your shop vac hose or router dust port.
- Secure the hose with duct tape or a hose clamp for an airtight seal.
- Place the can near your work area to catch dust directly.
Pro Tip: Line the can with a small trash bag for easy cleanup.
SEO Keywords: “woodworking dust collection hack,” “DIY shop vac dust collector” Visual Idea: Include a video showing the coffee can in action during a routing project.
This hack keeps your workspace cleaner and saves you from investing in expensive dust collection systems.
4. Master the Art of Measuring with a Story Stick
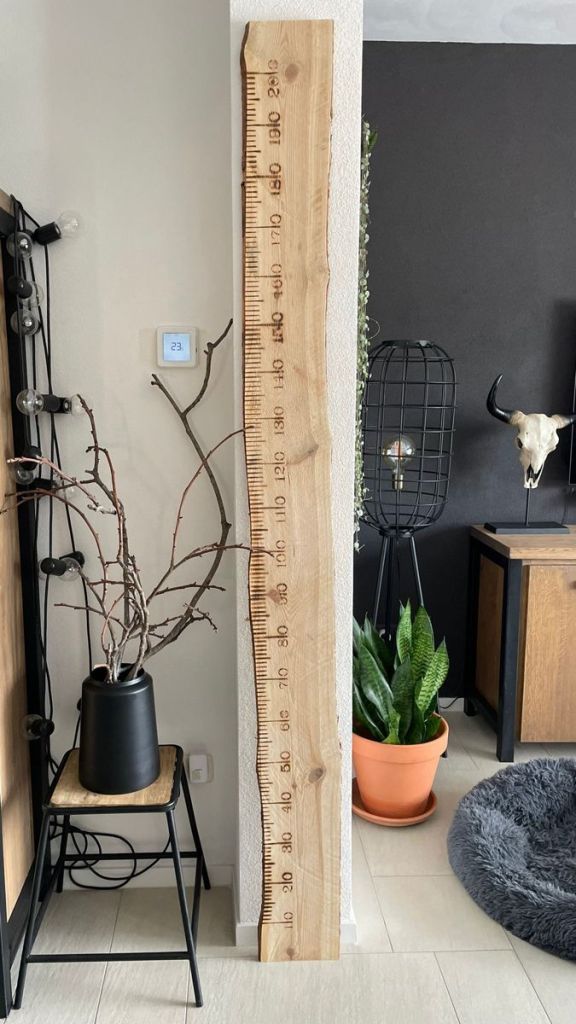
Why It Works: Measuring multiple pieces with a tape measure can lead to errors, especially on complex projects. A story stick—a simple piece of wood marked with measurements—ensures consistency and saves time.
How to Do It:
- Use a straight piece of scrap wood (1×2 or similar) as your story stick.
- Mark key measurements directly on the stick with a pencil or permanent marker.
- Transfer the marks to your workpiece using a square for accuracy.
- Store the stick with your project notes for future reference.
Pro Tip: Color-code story sticks for different projects to avoid confusion.
SEO Keywords: “story stick woodworking,” “accurate woodworking measurements” Visual Idea: Share a photo of a story stick with clear, labeled markings.
This hack eliminates repetitive measuring, reducing errors and speeding up your workflow.
5. Save Money with Reclaimed Wood Sourcing
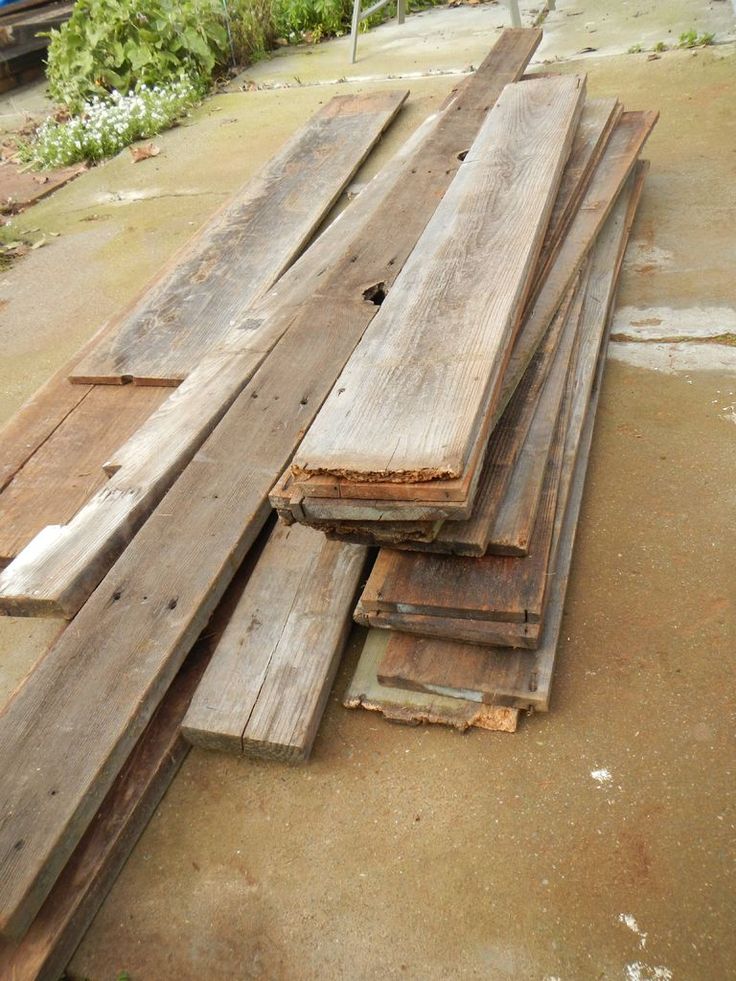
Why It Works: New lumber can be expensive, but reclaimed wood is often free or low-cost and adds unique character to projects. Sourcing it smartly saves money without sacrificing quality.
How to Do It:
- Check construction sites or demolition projects for discarded pallets or beams (always ask permission).
- Visit local sawmills or lumberyards for offcuts at discounted prices.
- Join online marketplaces like Craigslist or Facebook Marketplace for free wood listings.
- Clean and plane reclaimed wood to remove nails and rough surfaces.
Pro Tip: Inspect for pests or rot before using reclaimed wood to avoid issues.
SEO Keywords: “reclaimed wood woodworking,” “free wood for DIY projects” Visual Idea: Show a before-and-after of a reclaimed wood project, like a rustic shelf.
This hack cuts material costs significantly, letting you create high-end pieces on a budget. For inspiration, check out our collection of 50 free woodworking plans to turn reclaimed wood into stunning projects.
6. Use a Hot Glue Gun for Temporary Jigs
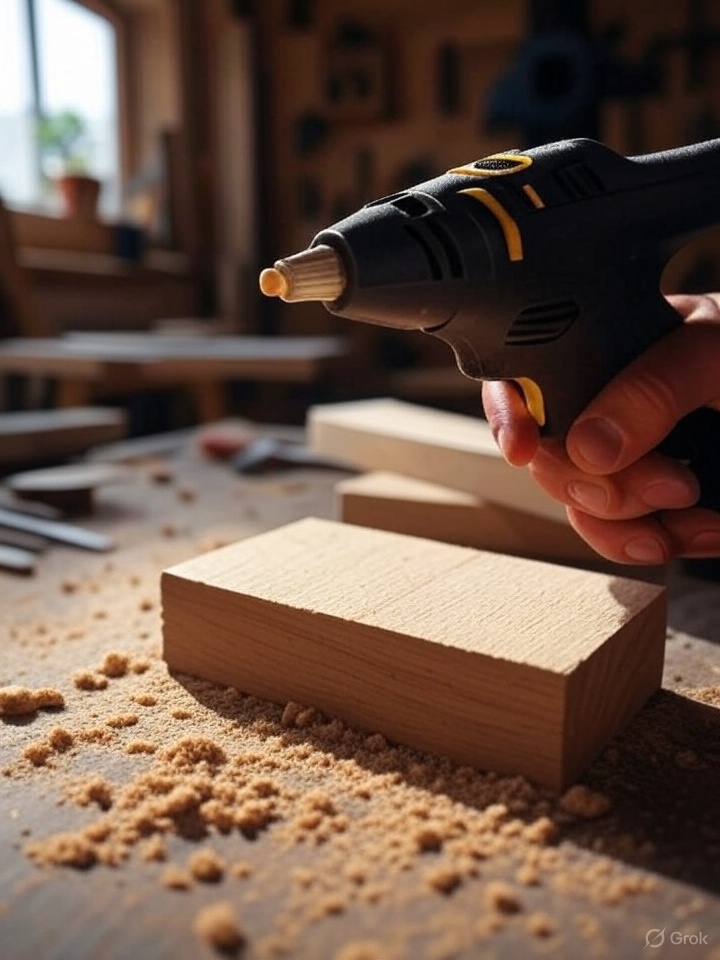
Why It Works: Jigs ensure precision but can be time-consuming to make. A hot glue gun creates quick, temporary jigs that hold pieces in place without permanent fixtures.
How to Do It:
- Apply hot glue to secure a guide or stop block on your workbench.
- Use a scrap piece as a base to avoid damaging your surface.
- Remove the glue with a heat gun or by peeling it off once the project is done.
- Clean residual glue with rubbing alcohol.
Pro Tip: Use high-temperature glue for stronger holds on larger projects.
SEO Keywords: “hot glue woodworking jig,” “temporary woodworking jig” Visual Idea: Include a GIF showing hot glue being applied and removed.
This hack saves time on jig construction, letting you focus on the actual woodworking.
7. Prevent Tearout with a Sacrificial Board
Why It Works: Similar to the painter’s tape hack, a sacrificial board under your workpiece absorbs blade damage, preventing tearout on the bottom side.
How to Do It:
- Place a scrap piece of wood (MDF or plywood works well) beneath your workpiece.
- Clamp both pieces together securely.
- Cut through both layers, letting the sacrificial board take the brunt of the tearout.
- Reuse the scrap for multiple cuts until it’s too damaged.
Pro Tip: Use a sacrificial board slightly larger than your workpiece for easier clamping.
SEO Keywords: “prevent tearout woodworking,” “sacrificial board woodworking” Visual Idea: Show a side-by-side comparison of cuts with and without a sacrificial board.
This hack ensures cleaner cuts, saving you time on sanding and repairs.
8. Organize Your Workshop with PVC Pipe Storage
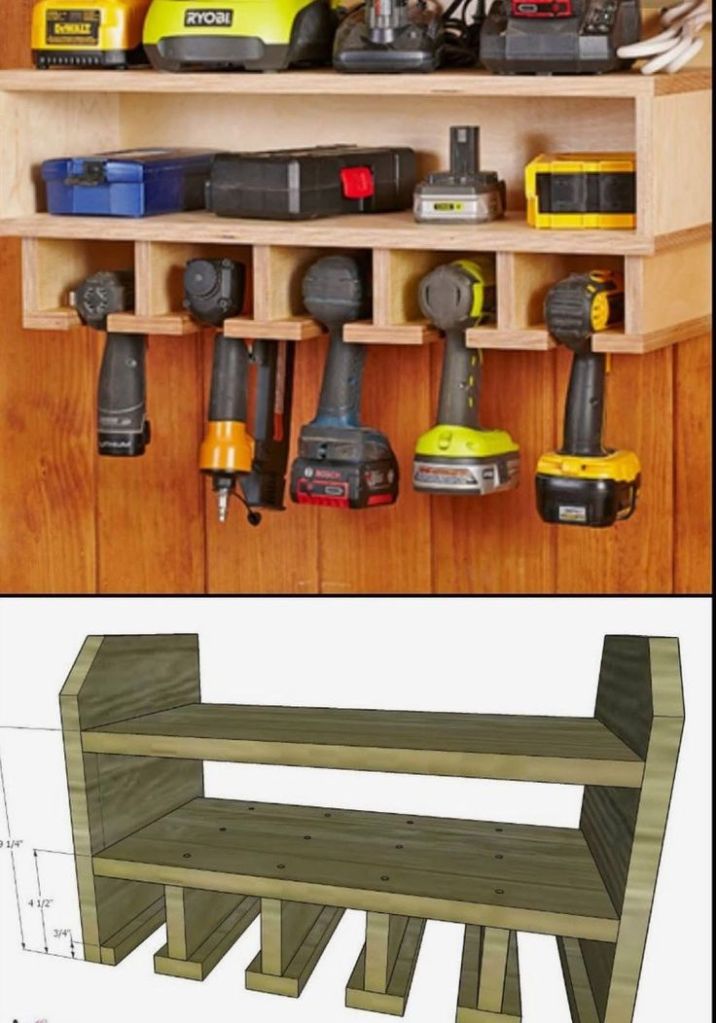
Why It Works: A cluttered workshop slows you down. PVC pipes are cheap, durable, and perfect for organizing tools, clamps, and small parts.
How to Do It:
- Cut 4-inch or 6-inch diameter PVC pipes into 12-inch sections.
- Mount them vertically or horizontally on a wall or pegboard.
- Use smaller pipes for chisels, screwdrivers, or drill bits.
- Label each pipe for quick access.
Pro Tip: Paint the pipes to match your workshop aesthetic for a polished look.
SEO Keywords: “woodworking workshop organization,” “PVC pipe tool storage” Visual Idea: Share a photo of a neatly organized PVC pipe storage setup.
This hack maximizes space and keeps your tools accessible, saving time during projects.
9. Make Perfect Pocket Holes Without a Jig
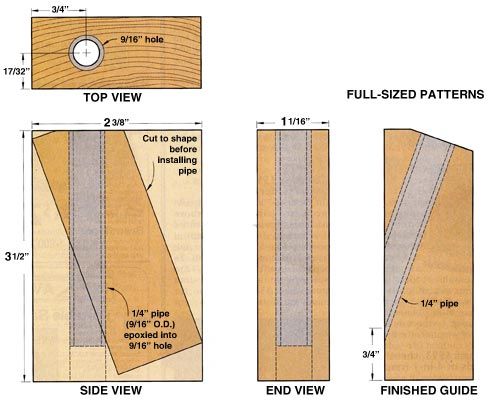
Why It Works: Pocket holes are great for strong joints, but jigs can be expensive. You can create them with just a drill and a steady hand.
How to Do It:
- Mark your pocket hole location at a 15-degree angle.
- Use a 3/8-inch drill bit to create a pilot hole at the marked angle.
- Switch to a stepped drill bit to widen the hole for the screw head.
- Practice on scrap wood to perfect the angle.
Pro Tip: Clamp a scrap piece at the desired angle to guide your drill.
SEO Keywords: “DIY pocket holes without jig,” “cheap pocket hole woodworking” Visual Idea: Include a diagram showing the drilling angle and screw placement.
This hack saves you from buying a $50+ jig while still achieving strong joints.
10. Extend Tool Life with Proper Blade Cleaning
Why It Works: Dirty blades cause burning and rough cuts, wearing them out faster. Regular cleaning keeps them sharp and saves you from frequent replacements.
How to Do It:
- Soak blades in a solution of warm water and dish soap for 10 minutes.
- Scrub with a nylon brush to remove pitch and resin.
- Dry thoroughly to prevent rust.
- Apply a light coat of WD-40 for storage.
Pro Tip: Clean blades after every major project to maintain performance.
SEO Keywords: “clean woodworking blades,” “extend saw blade life” Visual Idea: Show a before-and-after photo of a cleaned blade.
This hack extends the life of your tools, saving you hundreds over time.
11. Use Baking Soda to Remove Wood Glue Mistakes
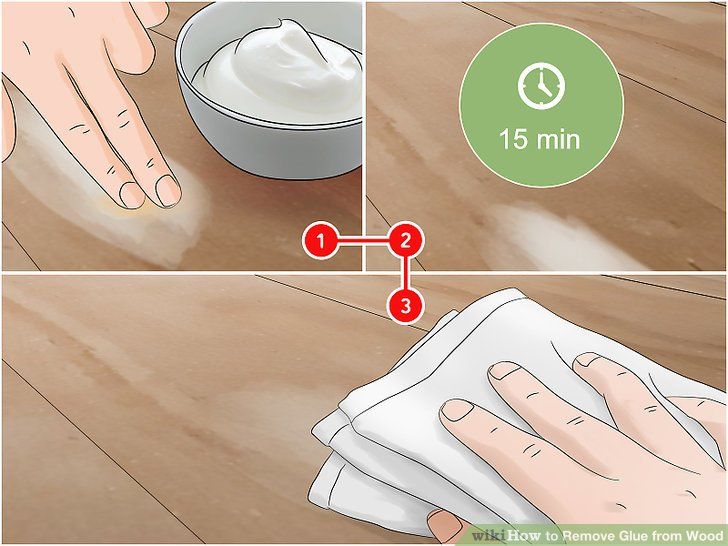
Why It Works: Glue squeeze-out can ruin a project’s finish. Baking soda absorbs glue, making it easy to remove without sanding.
How to Do It:
- Sprinkle baking soda over wet glue immediately after clamping.
- Let it sit for 5 minutes to absorb the glue.
- Wipe away with a damp cloth or scrape gently with a putty knife.
- Sand lightly if any residue remains.
Pro Tip: Keep a small container of baking soda in your workshop for quick fixes.
SEO Keywords: “remove wood glue mistakes,” “woodworking glue cleanup” Visual Idea: Include a close-up photo of glue before and after baking soda treatment.
This hack saves time on cleanup and prevents damage to your workpiece.
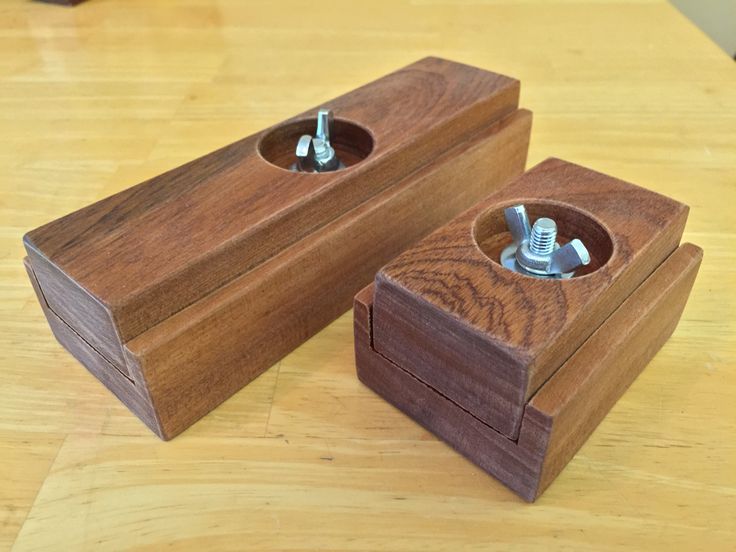
12. Create Custom Clamps with PVC and Wood
Why It Works: Clamps are essential but expensive. DIY clamps made from PVC and wood scraps are cheap and tailored to your needs.
How to Do It:
- Cut two 1×2 wood pieces to your desired clamp length.
- Attach a 4-inch PVC pipe section to one end with screws to act as a jaw.
- Use a wing nut and bolt to create adjustable pressure.
- Pad the jaws with felt to protect your workpiece.
Pro Tip: Make multiple sizes for different projects, like edge gluing or frame assembly.
SEO Keywords: “DIY woodworking clamps,” “cheap woodworking clamp ideas” Visual Idea: Share a step-by-step video of building a clamp.
This hack saves you from buying costly clamps, especially for large projects.
13. Speed Up Finishing with a Spray Bottle
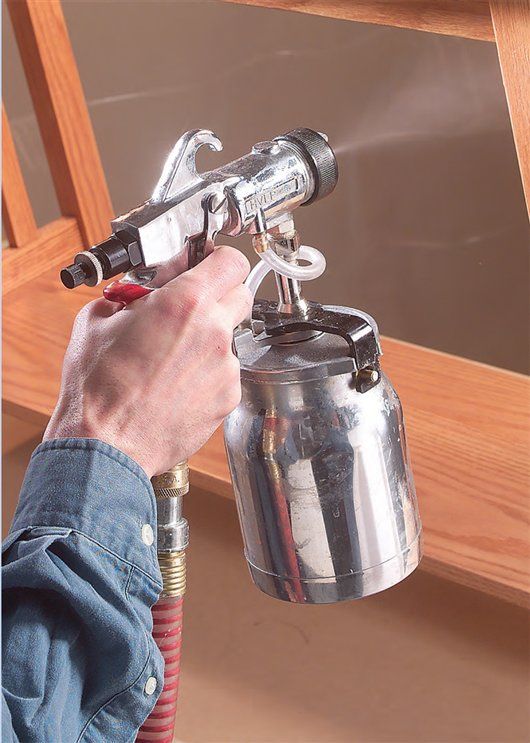
Why It Works: Applying finishes like polyurethane can be slow with a brush. A spray bottle delivers an even coat quickly, especially for small or intricate projects.
How to Do It:
- Dilute your finish (e.g., water-based polyurethane) with 10% water for better flow.
- Pour into a clean spray bottle with an adjustable nozzle.
- Apply thin, even coats, sanding lightly between layers.
- Clean the bottle thoroughly after each use.
Pro Tip: Test the spray on scrap wood to adjust the nozzle for your desired coverage.
SEO Keywords: “spray finish woodworking,” “fast woodworking finishing tips” Visual Idea: Include a time-lapse video of spraying a small project.
This hack cuts finishing time in half and delivers a smoother result.
14. Mark Your Tools with Colored Tape for Easy Identification
Why It Works: In a busy workshop, finding the right tool quickly saves time. Colored tape makes it easy to spot your go-to tools at a glance.
How to Do It:
- Wrap colored electrical tape around the handles of your tools (e.g., red for chisels, blue for screwdrivers).
- Use different colors for different tool categories or sizes.
- Write measurements (e.g., 1/4-inch bit) on the tape with a permanent marker.
- Replace tape as it wears out.
Pro Tip: Use bright colors for high-use tools to make them stand out.
SEO Keywords: “organize woodworking tools,” “tool identification hacks” Visual Idea: Show a photo of a tool rack with color-coded handles.
This hack streamlines your workflow by reducing time spent searching for tools.
15. Build a Quick-and-Dirty Workbench for Under $20
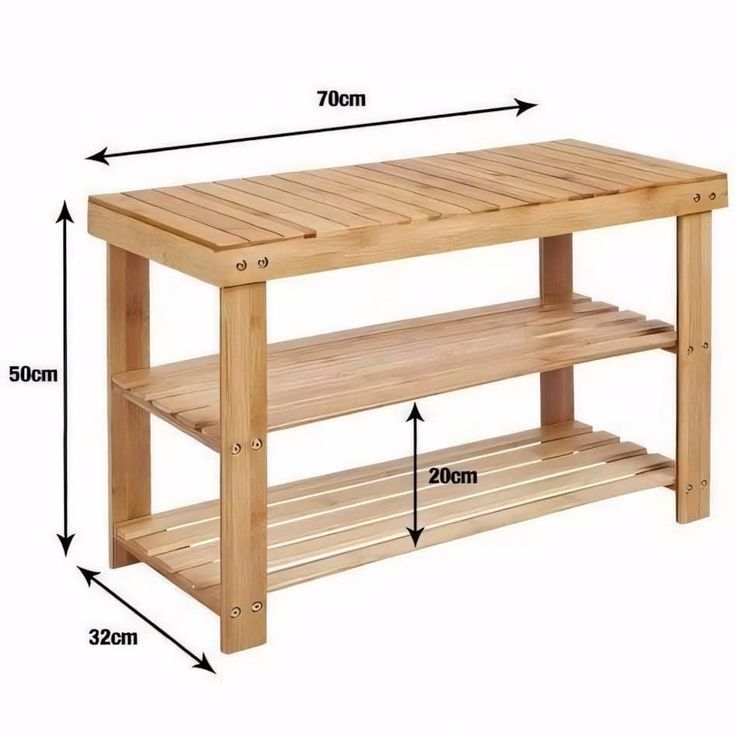
Why It Works: A sturdy workbench is the heart of any workshop, but commercial ones are pricey. A simple workbench made from 2x4s and plywood is cheap and functional.
How to Do It:
- Use four 2x4s for legs and four for the frame (about $10 total).
- Cut a 4×4-foot piece of 3/4-inch plywood for the top ($10 or less if using scraps).
- Assemble with deck screws and wood glue for stability.
- Sand the top smooth and add a coat of polyurethane for durability.
Pro Tip: Add a shelf underneath for extra storage using leftover plywood.
SEO Keywords: “cheap woodworking workbench,” “DIY workbench under $20” Visual Idea: Include a blueprint-style diagram of the workbench assembly.
This hack gives you a functional workspace without breaking the bank, perfect for beginners.
16. Bonus: Where to Find 50 Free Woodworking Plans
Ready to put these hacks to use on exciting projects? Check out our collection of 50 free woodworking plans, featuring everything from beginner-friendly cutting boards to advanced furniture builds. These plans are perfect for applying the time- and money-saving hacks you’ve just learned, helping you create stunning pieces without spending a fortune.
FAQs
Q: What’s the easiest woodworking hack for beginners?
A: Using painter’s tape for cleaner cuts (Hack #1) is simple and effective, requiring no special skills or tools.
Q: How can I save the most money on woodworking projects?
A: Sourcing reclaimed wood (Hack #5) and making DIY tools like sanding blocks (Hack #2) or clamps (Hack #12) are great ways to cut costs.
Q: Are these hacks safe for all skill levels?
A: Yes, but always follow safety guidelines, like wearing protective gear and double-checking tool settings.
Q: How do I keep my workshop organized on a budget?
A: Use PVC pipe storage (Hack #8) and color-coded tool marking (Hack #14) to stay organized without spending much.
Q: Can I use these hacks for professional projects?
A: Absolutely! Hacks like preventing tearout (Hack #7) and using a story stick (Hack #4) are used by pros to ensure precision and efficiency.
Affiliate Disclosure
Some of the links in this article, including those to tools or materials, may be affiliate links. This means we may earn a small commission if you make a purchase through these links, at no extra cost to you. These commissions help support our blog and allow us to continue providing free, high-quality woodworking content. We only recommend products we trust and believe will benefit our readers. Thank you for your support!
Discover more from WoodReality
Subscribe to get the latest posts sent to your email.
