When I first started woodworking, I never imagined a simple project costing just $20 could turn into a $500 sale. It all began one lazy Saturday afternoon when I rummaged through my garage, looking for something to keep my hands busy. With a few scraps of wood, some basic tools, and a bit of creativity, I crafted a piece that not only surprised me but also caught the eye of a local buyer willing to pay top dollar. This experience taught me that with the right approach, even a beginner can create something valuable. In this detailed guide, I’ll walk you through the exact project—a rustic wooden wall shelf—share the steps that led to its success, and offer tips to help you replicate it or create your own money-making masterpiece. Whether you’re new to woodworking or looking to turn a hobby into profit, this story is for you.
Table of Contents
- The Inspiration Behind the $20 Project
- Gathering Materials on a Budget
- Tools You’ll Need (And Clever Workarounds)
- Step-by-Step: Building the Rustic Wall Shelf
- The Finishing Touches That Made It Shine
- Marketing Magic: How I Sold It for $500
- Lessons Learned from My First Big Sale
- Scaling Up: Turning One Project into a Side Hustle
- Common Pitfalls to Avoid
- Bonus: Where to Find 50 Free Woodworking Plans
- FAQs
- Affiliate Disclosure
The Inspiration Behind the $20 Project
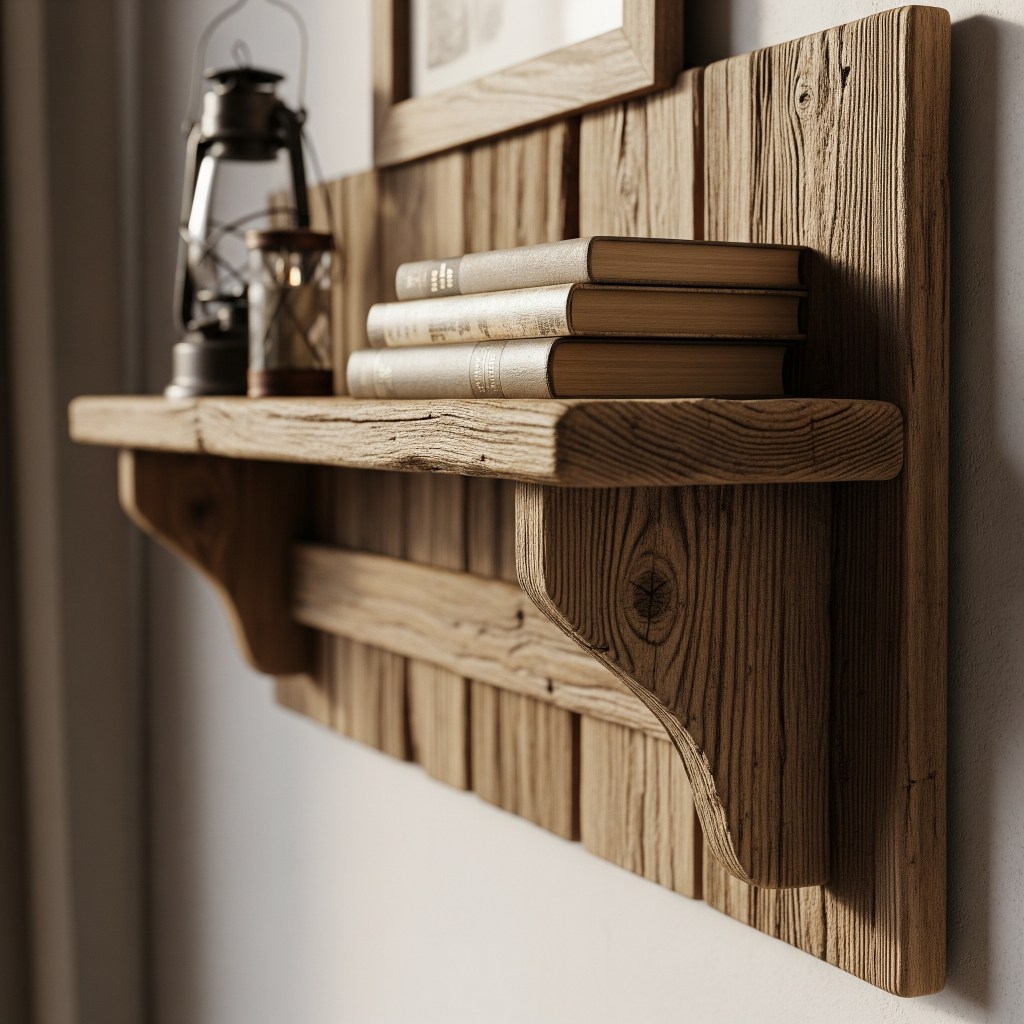
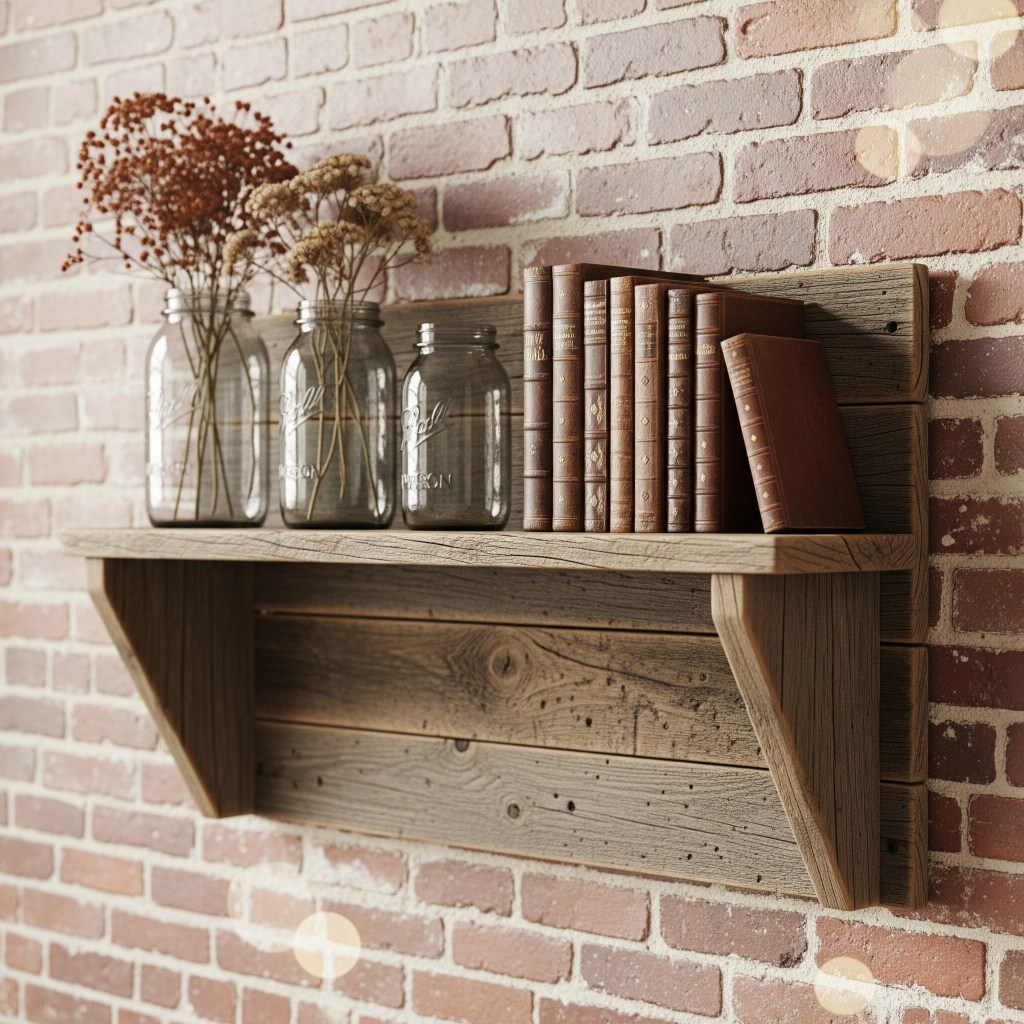
It all started with a cluttered living room. My wife had been hinting at needing more storage, and I figured a wall shelf could solve the problem while giving me a chance to practice my woodworking skills. I’d seen rustic designs popping up on Pinterest and Instagram—rough-hewn wood with a natural finish—and thought, “I can do that.” The idea was simple: use whatever wood I had lying around, keep costs low, and see if I could make something decent. Little did I know, that decision would spark a journey from a $20 experiment to a $500 payday.
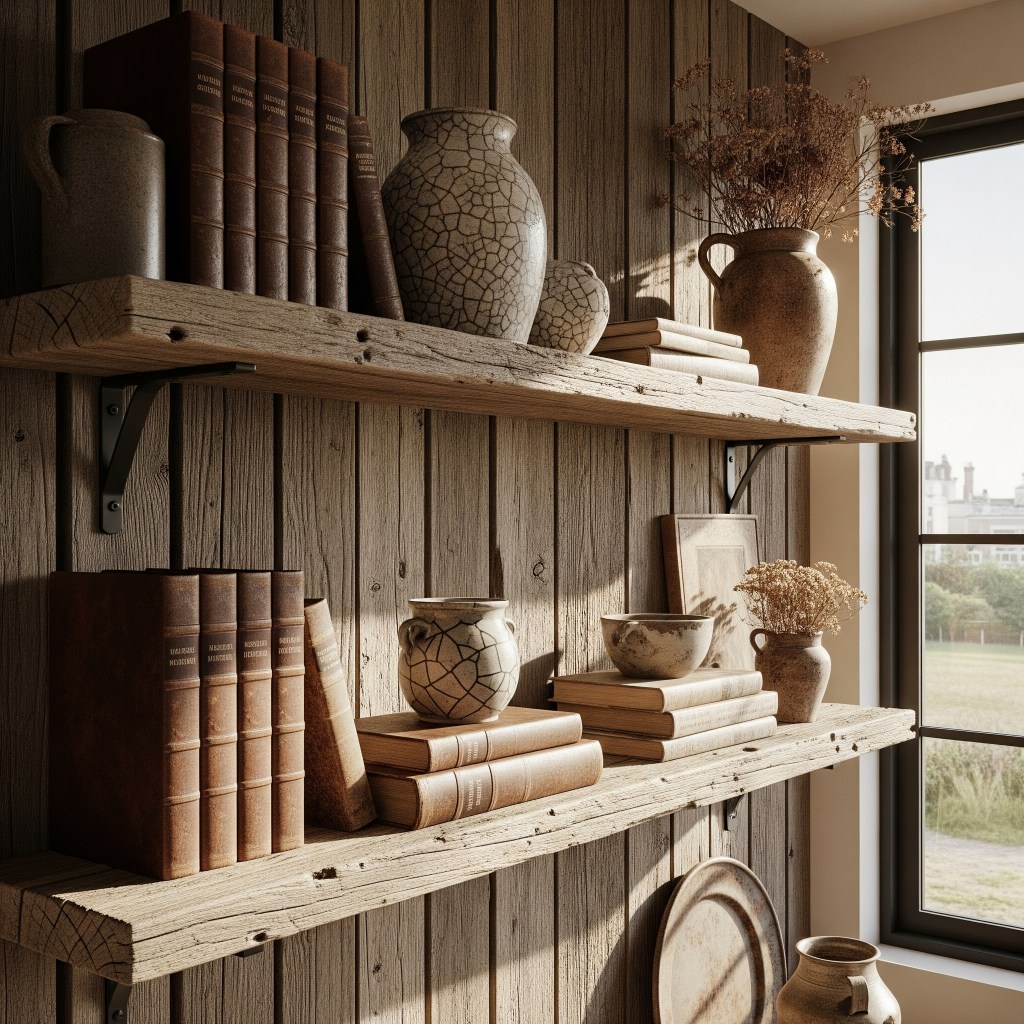
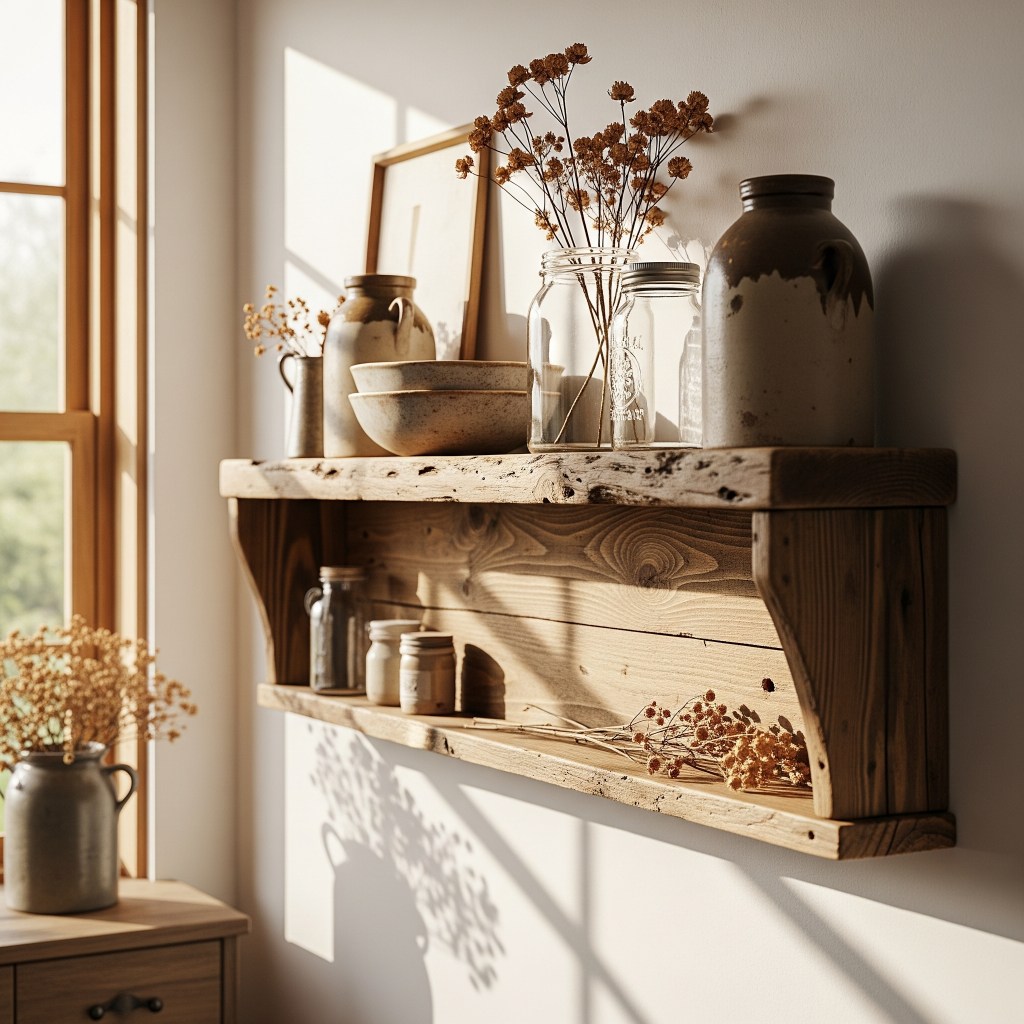
Rustic furniture has a timeless appeal. It fits into modern farmhouse decor, boho styles, and even minimalist homes, making it a hot item in 2025’s interior design trends. I wanted a piece that felt handmade but polished enough to sell. After sketching a basic design—a 3-foot-long shelf with a live edge and two sturdy supports—I set out to make it happen without spending a fortune.
Gathering Materials on a Budget
The beauty of this project was its affordability. Here’s how I kept the cost at $20:
- Wood: I had a few oak planks from an old pallet I’d salvaged (free) and bought a small piece of cedar for the live edge ($10 at a local lumberyard). Reclaimed wood is a goldmine for budget projects—check construction sites or ask neighbors for discards.
- Screws and Brackets: I used leftover deck screws ($0) and picked up two L-brackets for $2 each ($4 total) at a hardware store.
- Finish: A half-used can of polyurethane from a previous project ($0) and some steel wool ($2) for sanding completed the materials.
- Miscellaneous: A bit of sandpaper ($2) and wood glue ($2) rounded out the $20 budget.
Tip: Always scout free or cheap wood sources like Craigslist, Facebook Marketplace, or even curbside pickups. I found the oak by offering to clear a neighbor’s yard—win-win!
This approach not only saved money but also gave the shelf a unique, reclaimed character that buyers love. If you’re starting from scratch, local sawmills often sell offcuts for a fraction of retail prices.
Tools You’ll Need (And Clever Workarounds)
You don’t need a fancy workshop to pull this off. Here’s what I used, along with alternatives if you’re short on gear:
- Circular Saw or Hand Saw: I used my old circular saw to cut the planks. If you don’t have one, a hand saw works—slow but effective.
- Drill: For pilot holes and driving screws. A cordless drill is ideal, but a hand drill can substitute.
- Sandpaper or Orbital Sander: I started with 80-grit sandpaper and finished with 220-grit. No sander? Rub by hand—it’s tedious but doable.
- Measuring Tape and Square: Essential for accuracy. Borrow these if needed.
- Clamps: To hold pieces while gluing. I used heavy books as a DIY clamp alternative.
- Brush or Rag: For applying the finish. An old T-shirt works in a pinch.
Workaround Tip: If you’re missing tools, rent them for a day from Home Depot or ask a friend. I borrowed a friend’s sander for the final pass, saving hours of elbow grease.
With these basics, you’re set to build without breaking the bank. The key is starting small and using what you have.
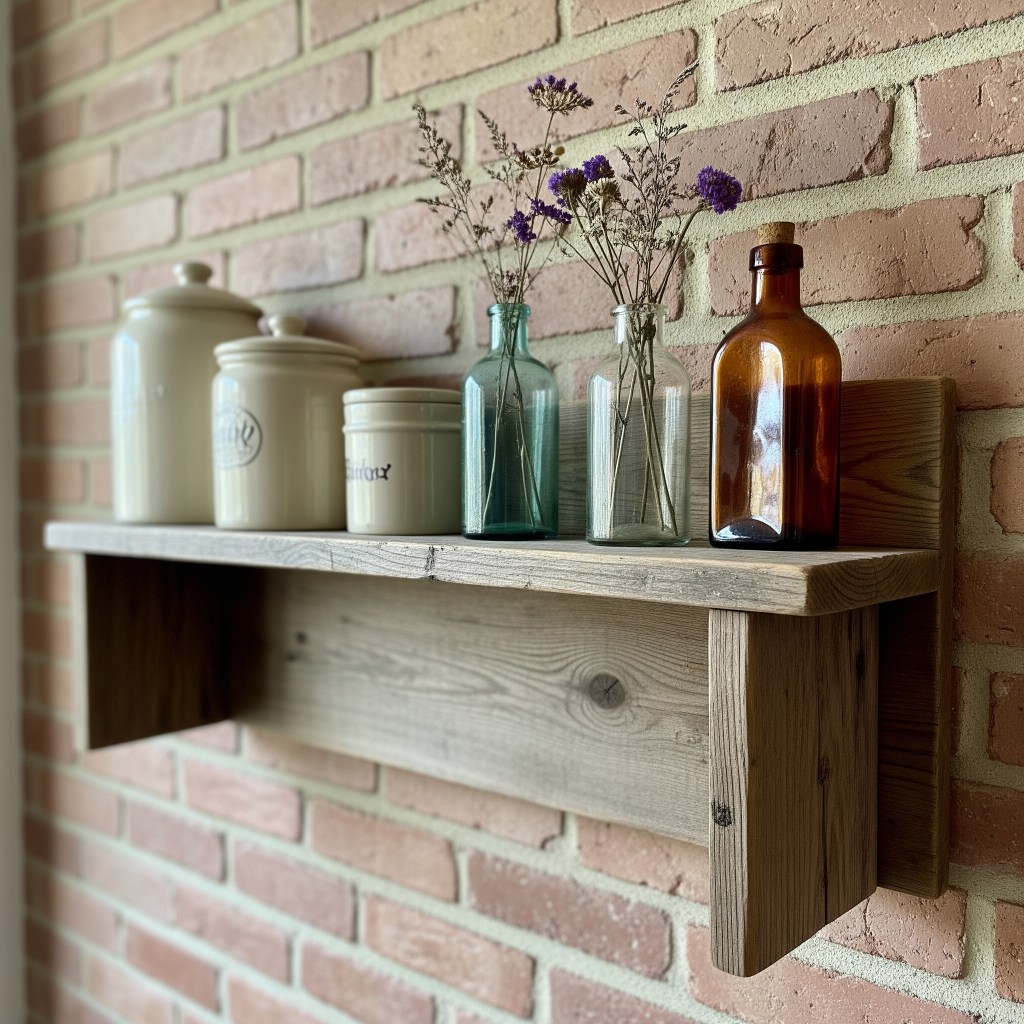
Step-by-Step: Building the Rustic Wall Shelf
Here’s how I turned $20 worth of materials into a sellable piece. Take your time with each step—precision pays off.
Step 1: Plan and Measure
I sketched a 36-inch-long shelf with two 12-inch supports. Using a measuring tape and square, I marked the oak planks and cedar edge piece. Double-check measurements to avoid waste—measure twice, cut once, as they say!
Step 2: Cut the Wood
With my circular saw, I cut the oak to 36 inches for the shelf and two 12-inch pieces for the supports. The cedar got a rough cut to match the length, keeping its natural live edge. If you’re hand-sawing, use a guide (like a straight board) for straight lines.
Step 3: Sand the Surfaces
I started with 80-grit sandpaper to remove rough spots, then moved to 220-grit for a smooth finish. The live edge got a light sanding to preserve its texture. Wear a mask—wood dust is no joke!
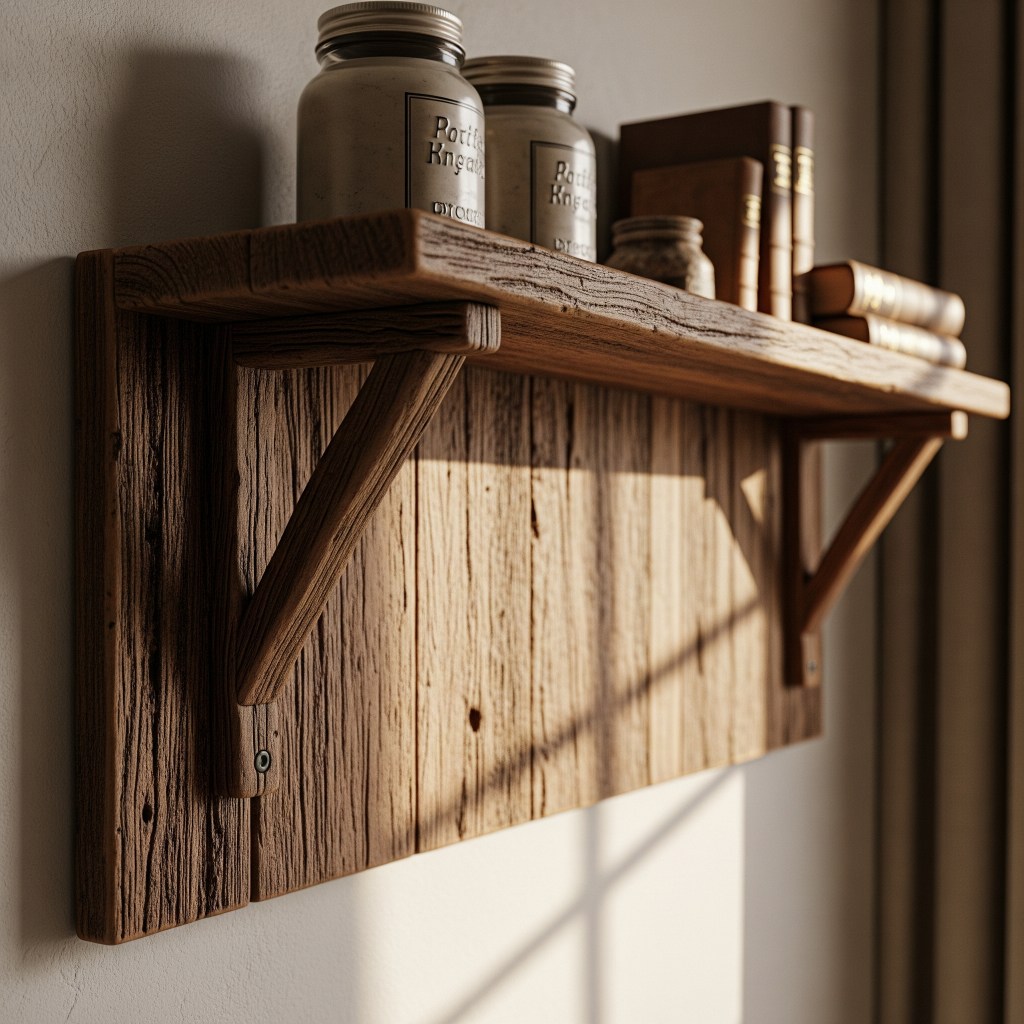
Step 4: Assemble the Frame
I glued the supports to the underside of the shelf with wood glue, clamping them with books overnight. After drying, I drilled pilot holes and secured them with screws. The L-brackets went on the back for wall mounting—drill carefully to avoid splitting the wood.
Step 5: Attach the Live Edge
I glued the cedar live edge to the front, weighting it down with cans. Once dry, I added a few screws from the bottom for extra strength. This step gave the shelf its rustic charm.
Tip: Test the balance on a flat surface before final assembly to ensure it sits level.
The Finishing Touches That Made It Shine
A good finish can elevate a project from homemade to high-end. Here’s what I did:
- Sanding: I used steel wool after the 220-grit to create a silky texture, especially on the live edge.
- Polyurethane: Two thin coats with a rag, sanding lightly between layers, brought out the wood’s natural grain. Let it cure for 24 hours.
- Wax (Optional): A light coat of beeswax added a subtle sheen and protected the wood.
The result was a warm, inviting shelf with a professional look. Buyers notice details like a smooth finish, so don’t skip this step. If you’re new to finishing, practice on scrap wood first.
Marketing Magic: How I Sold It for $500
Building the shelf was only half the battle—selling it turned it into profit. Here’s how I did it:
- Photos: I took clear, well-lit photos with my phone, showing the shelf against a neutral wall with decor items on it. Natural light is key—avoid harsh shadows.
- Pricing: I researched similar rustic shelves on Etsy, where prices ranged from $150 to $300. Confident in my craftsmanship, I listed it at $250 but negotiated up to $500 with a local buyer who loved the live edge.
- Platforms: I posted on Facebook Marketplace, joining local “Buy/Sell” groups, and shared it in a neighborhood app. Word of mouth sealed the deal—a friend’s colleague saw it and offered $500 cash.
- Storytelling: I mentioned it was handmade from reclaimed wood, which added value. People love a good origin story.
Tip: Highlight unique features (e.g., “one-of-a-kind live edge”) in your listing to justify a higher price.
This sale proved that marketing can multiply your return. Don’t undersell—let the quality speak for itself.
Lessons Learned from My First Big Sale
This project taught me valuable lessons:
- Quality Matters: The live edge and smooth finish were what sold it. Invest time in details.
- Start Small: A simple shelf built confidence for bigger projects.
- Network Locally: Online sales are great, but local buyers often pay more for convenience.
- Be Flexible: Negotiating helped close the deal, but know your minimum (I wouldn’t go below $300).
Mistakes? I underestimated sanding time and had to rush the finish. Next time, I’ll plan better.
Scaling Up: Turning One Project into a Side Hustle
Encouraged by the $500 sale, I’ve started turning this into a side gig. Here’s my plan:
- Batch Production: Make 3-5 shelves at once to streamline cuts and finishing.
- Variety: Offer different sizes and wood types (e.g., walnut or pine).
- Online Presence: I’m setting up an Etsy shop and posting on Instagram with hashtags like #RusticDecor and #HandmadeWoodwork.
- Custom Orders: A local café asked for a matching set—$1,200 potential!
Start with one project, perfect it, then scale. Reinvest profits into better tools or materials to grow.
Common Pitfalls to Avoid
- Rushing Cuts: Uneven edges cost me an extra hour of sanding. Use a guide.
- Skipping Safety: I wore no mask during sanding—wood dust irritated my lungs. Always protect yourself.
- Overpricing Too Soon: Research market rates before listing to avoid scaring off buyers.
- Poor Photos: Blurry images nearly lost me a sale. Use good lighting and angles.
Learn from my slip-ups to save time and frustration.
Bonus: Where to Find 50 Free Woodworking Plans
Ready to try your hand at a profitable project? Check out our collection of 50 free woodworking plans, featuring designs from simple shelves to intricate furniture. These plans are perfect for experimenting with the techniques that turned my $20 shelf into a $500 success.
FAQs
Q: Can I really sell a $20 project for $500?
A: Yes, with good design, finish, and marketing. The key is targeting the right buyer.
Q: What if I don’t have reclaimed wood?
A: Buy affordable lumber from a sawmill or use pine from a hardware store—it works fine.
Q: How long did this project take?
A: About 6 hours total, spread over two days with drying time.
Q: Do I need expensive tools?
A: No, basic tools and workarounds (like hand sawing) are enough to start.
Q: Where else can I sell?
A: Try Etsy, eBay, or local craft fairs alongside Facebook Marketplace.
Affiliate Disclosure
Some links in this article, including those to tools or materials, may be affiliate links. This means I may earn a small commission if you purchase through them, at no extra cost to you. These commissions help support my blog and allow me to share more woodworking tips. I only recommend products I’ve used and trust. Thanks for your support!
Discover more from WoodReality
Subscribe to get the latest posts sent to your email.
