Building a wooden fence is a rewarding project that enhances your property’s privacy, security, and aesthetic appeal. Whether you’re a seasoned DIY enthusiast or a beginner, this step-by-step guide will walk you through the process of constructing a durable and attractive wooden fence.
Why Build a Wooden Fence?
- Privacy: A well-built fence provides a secluded space, shielding your yard from prying eyes.
- Security: Fences act as a deterrent to intruders and keep children and pets safely within your property boundaries.
- Aesthetic Appeal: A wooden fence adds character and charm, enhancing your home’s curb appeal.
- Property Value: Adding a wooden fence can increase your property’s value by improving its functionality and appearance.
- Noise Reduction: Fences can also act as a barrier, reducing noise from surrounding areas.
Planning Your Fence
Before you begin construction, it’s essential to plan thoroughly:
- Determine the Purpose: Identify whether the fence is for privacy, decoration, or security, as this will influence the design and height.
- Check Local Regulations: Consult local building codes and homeowners’ association guidelines to ensure compliance with height restrictions and property line setbacks.
- Select the Style: Choose a fence style that complements your home and meets your needs, such as picket, lattice, or solid board.
- Measure the Area: Outline the fence’s path and measure the total length to determine the amount of materials required.
- Mark Utility Lines: Call your local utility companies to mark underground lines before digging post holes to avoid accidental damage.
Materials and Tools Needed
Materials:
- Pressure-treated wood or cedar for posts and panels
- Concrete mix for setting posts
- Galvanized nails or screws
- Gravel for drainage
- Wood preservative or sealant
- Paint or stain (optional)
Tools:
- Measuring tape
- Post hole digger or auger
- Level
- Hammer or drill
- Saw
- String line and stakes
- Paintbrush or sprayer
- Safety gear (gloves, goggles, and mask)
Step-by-Step Construction Guide
Step 1: Mark the Fence Line
- Use stakes and string to outline the fence’s path, ensuring it’s straight and within your property boundaries.
- Double-check measurements and ensure the corners are square.
Step 2: Set the Posts
- Mark post locations along the string line, spacing them 6 to 8 feet apart.
- Dig post holes approximately 2 to 3 feet deep, depending on your local frost line.
- Add a few inches of gravel at the bottom of each hole for drainage.
- Place the posts in the holes, ensuring they are plumb and aligned with the string line.
- Fill the holes with concrete mix, securing the posts in place. Allow the concrete to cure as per the manufacturer’s instructions.
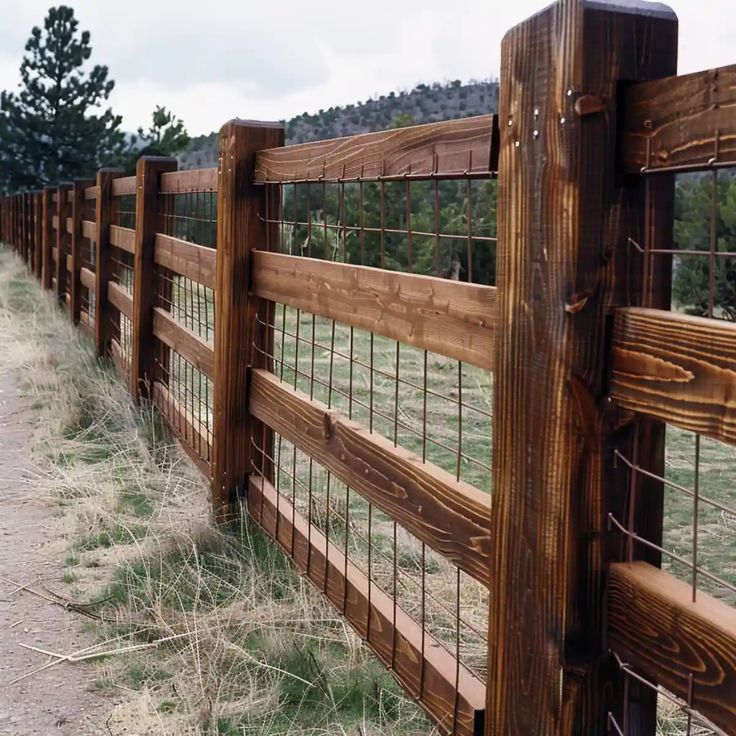
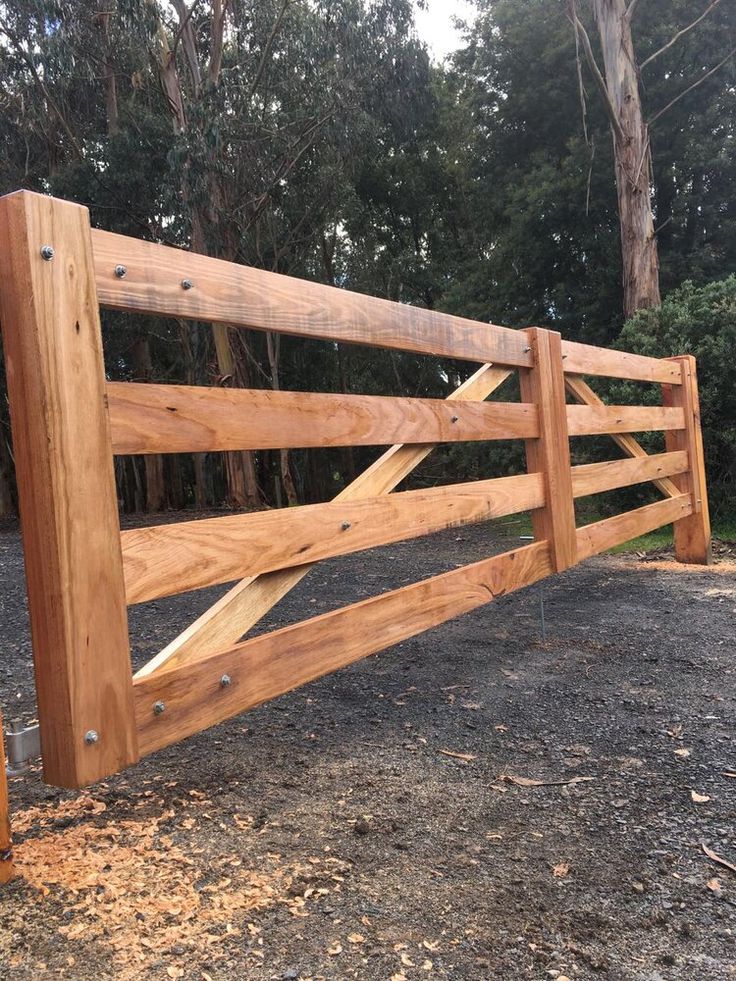
Step 3: Attach the Rails
- Once the posts are set, attach horizontal rails (also known as stringers) between the posts.
- Depending on the fence height, you may need two or three rails per section.
- Ensure the rails are level and securely fastened to the posts.
Step 4: Install the Fence Boards
- Attach the vertical fence boards to the rails, spacing them evenly.
- Use a spacer block to maintain consistent gaps between boards, if desired.
- Secure each board with galvanized nails or screws to prevent rusting.
- For decorative designs, consider adding lattice or patterned boards.
Step 5: Apply Finishing Touches
- Trim the tops of the posts and boards for a uniform appearance.
- Sand any rough edges to prevent splinters.
- Apply a wood preservative or sealant to protect the fence from weathering and extend its lifespan.
- Paint or stain the fence for additional protection and aesthetic appeal, if desired.
Advanced Tips for Customization
- Decorative Post Caps: Add stylish post caps to enhance the overall look of your fence.
- Lighting: Install solar-powered lights on the posts for nighttime visibility and ambiance.
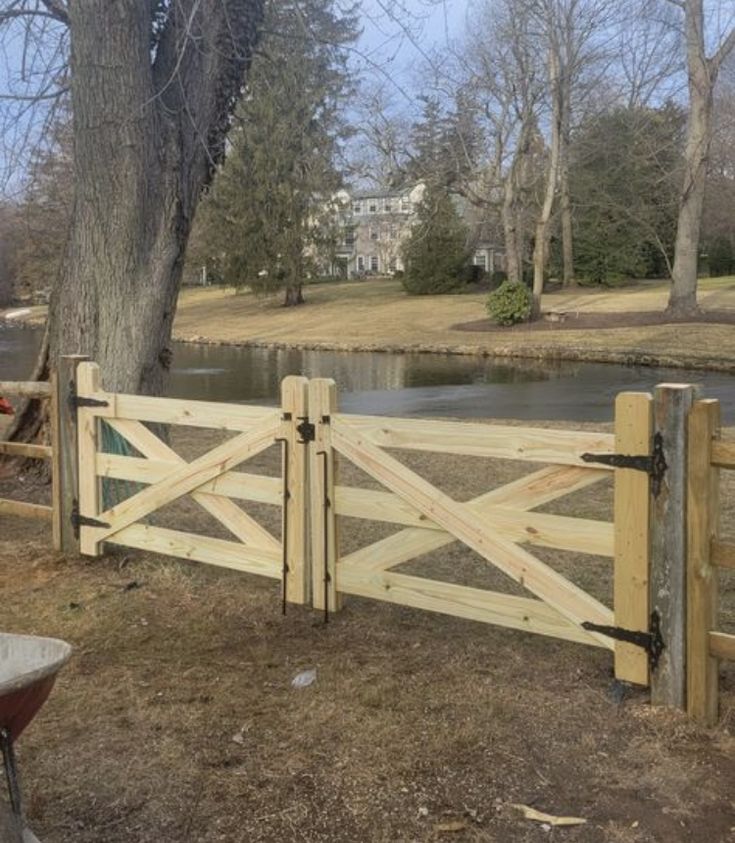
- Gate Installation: If your fence includes a gate, use heavy-duty hinges and a secure latch to ensure durability.
- Landscaping: Plant flowers or shrubs along the fence line to blend it seamlessly with your yard.
Maintenance Tips
- Regular Inspections: Periodically check for loose boards, nails, or screws and repair as needed.
- Cleaning: Clean the fence annually to remove dirt, mildew, and stains.
- Sealing: Reapply sealant every few years to maintain the wood’s integrity and appearance.
- Pest Control: Watch for signs of termite or insect damage and treat promptly.
- Seasonal Checks: Inspect the fence after severe weather to ensure stability and address any damage.
Environmental Considerations
- Recycled Materials: Consider using recycled or reclaimed wood for an eco-friendly option.
- Sustainable Practices: Choose wood certified by the Forest Stewardship Council (FSC) to ensure responsible sourcing.
- Composting: Repurpose sawdust and wood scraps for compost or garden mulch.
Common Mistakes to Avoid
- Skipping Permits: Always check if a permit is required before starting construction.
- Incorrect Measurements: Double-check all measurements to avoid misaligned posts or insufficient materials.
- Poor Drainage: Ensure proper drainage to prevent wood rot and soil erosion.
- Using Untreated Wood: Opt for treated or rot-resistant wood to extend the fence’s lifespan.
- Ignoring Soil Type: Adjust post depth and foundation based on soil type for stability.
Enhance Your Woodworking Skills!
For more detailed woodworking plans and projects, consider exploring Ted’s Woodworking Plans. With over 16,000 plans, you’ll find inspiration and guidance for all your DIY endeavors.
👉 Access Ted’s Woodworking Plans Here!
Affiliate Disclosure: This post contains affiliate links. If you purchase through these links, we may earn a small commission at no additional cost to you.
Discover more from WoodReality
Subscribe to get the latest posts sent to your email.

Pingback: Build Your Dream Wooden Garden Arbor – WoodReality