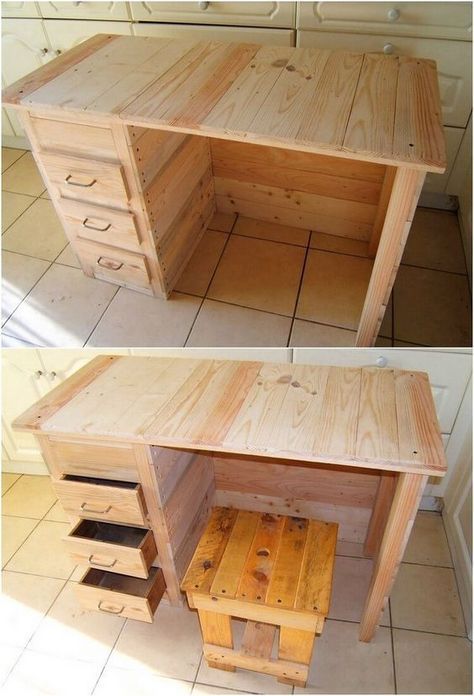
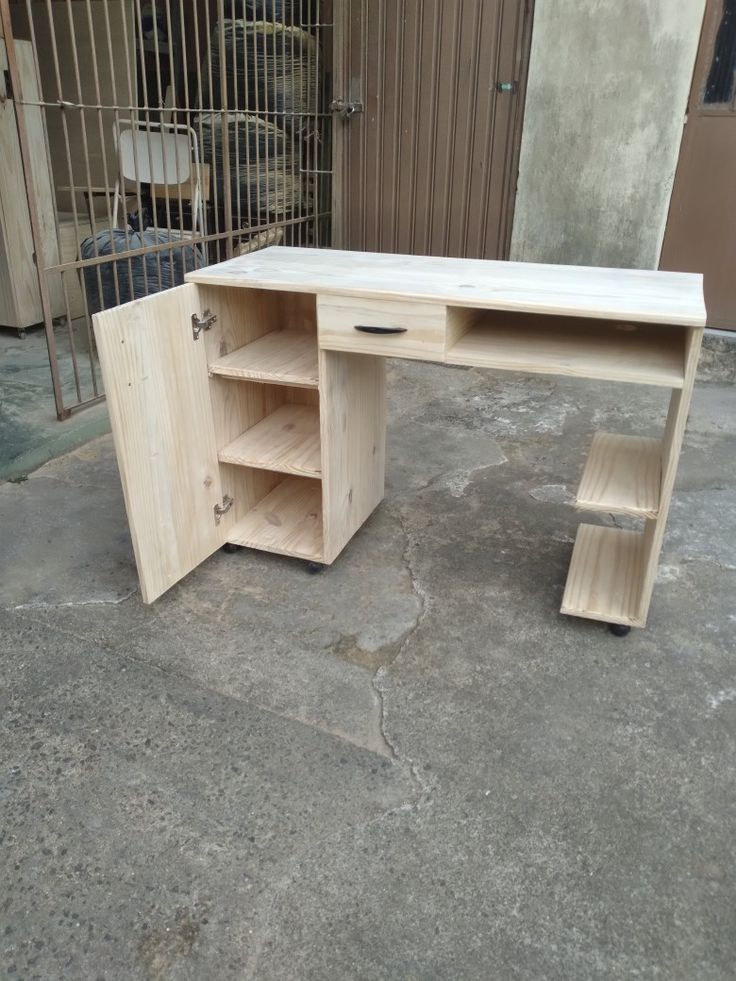
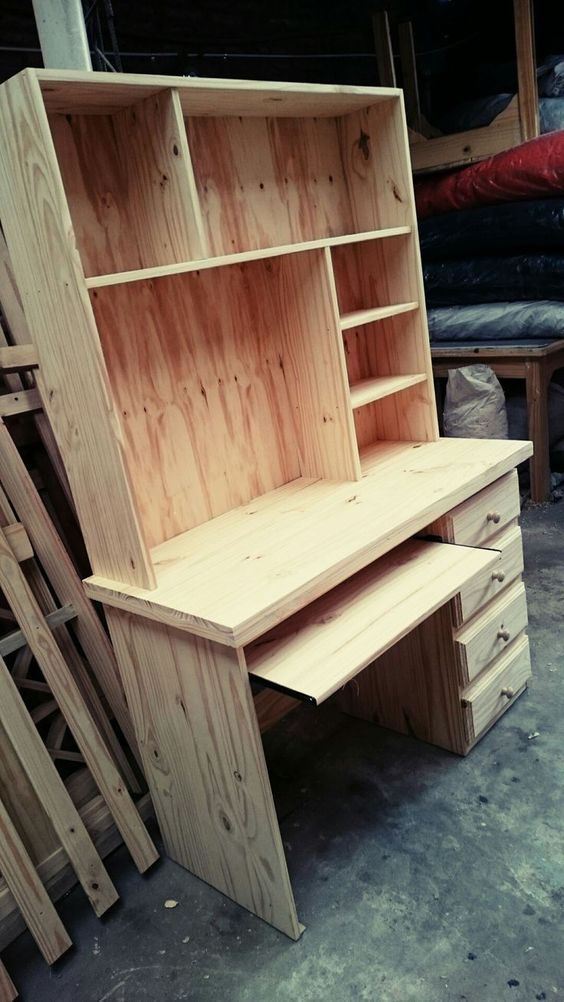
Building a wooden desk is one of the most rewarding DIY projects you can tackle. Not only does it save you money, but it also allows you to create a custom piece that fits your space and style perfectly. Whether you’re a complete beginner or have some woodworking experience, this guide will walk you through the entire process, from planning to finishing touches. By the end, you’ll have a beautiful, functional desk that you can proudly say you built yourself.
Why Build Your Own Wooden Desk?
Before diving into the steps, let’s talk about why building your own desk is worth the effort:
- Customization: You can design the desk to fit your exact needs—whether it’s a small writing desk or a large workstation.
- Cost Savings: Building a desk is often cheaper than buying one, especially if you want high-quality materials.
- Skill Building: Woodworking is a valuable skill that you can use for future projects.
- Satisfaction: There’s nothing quite like the pride of creating something with your own hands.
Tools and Materials You’ll Need
Before starting, gather all the necessary tools and materials. Here’s what you’ll need:
Tools
- Circular saw or table saw
- Drill and drill bits
- Screwdriver
- Measuring tape
- Clamps
- Sandpaper (120-grit and 220-grit)
- Wood glue
- Paintbrush or foam roller (for finishing)
Materials
- 2×4 lumber (for the frame)
- 1×12 lumber (for the desktop)
- Wood screws (2.5 inches)
- Wood stain or paint
- Polyurethane (for sealing)

Step 1: Plan Your Desk
Determine the Size
Start by deciding the dimensions of your desk. A standard desk is:
- Height: 30 inches
- Width: 48 inches
- Depth: 24 inches
Adjust these measurements to fit your space and needs. For example, if you need a smaller desk for a cozy corner, you can reduce the width and depth.
Sketch Your Design
Draw a simple sketch of your desk, including the frame, legs, and desktop. This will help you visualize the final product and plan the cuts.
Step 2: Cut the Wood
Using a circular saw or table saw, cut the lumber to the following dimensions:
- Legs: 4 pieces of 2×4 lumber, each 30 inches long.
- Frame: 2 pieces of 2×4 lumber, each 45 inches long (for the sides), and 2 pieces, each 21 inches long (for the front and back).
- Desktop: 1 piece of 1×12 lumber, 48 inches long.
Pro Tip: Double-check your measurements before cutting to avoid mistakes.
Step 3: Assemble the Frame
- Lay the two 45-inch pieces parallel to each other.
- Attach the 21-inch pieces between them using wood screws to form a rectangle.
- Reinforce the corners with wood glue for added stability.
Step 4: Attach the Legs
- Position the legs at each corner of the frame.
- Secure the legs to the frame using wood screws and wood glue.
- Use clamps to hold the legs in place while the glue dries.
Step 5: Install the Desktop
- Place the 1×12 desktop on top of the frame.
- Secure the desktop to the frame using wood screws. Drill pilot holes to prevent splitting.
- Ensure the desktop is centered and flush with the frame.
Step 6: Sand the Desk
- Use 120-grit sandpaper to smooth out rough edges and surfaces.
- Switch to 220-grit sandpaper for a finer finish.
- Wipe away dust with a damp cloth before applying the finish.
Step 7: Apply the Finish
- Apply wood stain or paint using a brush or foam roller. Follow the manufacturer’s instructions for drying time.
- Once the stain or paint is dry, apply a coat of polyurethane to protect the wood and add a glossy finish.
- Allow the desk to dry completely before use.
Tips for Beginners
- Start Small: If this is your first woodworking project, keep the design simple.
- Safety First: Wear safety goggles and gloves when cutting and sanding wood.
- Take Your Time: Rushing can lead to mistakes. Enjoy the process!
Frequently Asked Questions (FAQs)
1. How much does it cost to build a wooden desk?
The cost depends on the materials you choose. On average, you can build a desk for 50−50−100.
2. What type of wood is best for a desk?
Pine, oak, and maple are popular choices for their durability and aesthetic appeal.
3. Can I build a desk without power tools?
Yes, but it will take more time and effort. Hand tools like a saw and screwdriver can be used.
4. How long does it take to build a wooden desk?
For beginners, it may take 6-8 hours spread over a couple of days.
Read Also:
Step-by-Step Guide: How to Build a Wooden Bookshelf for Your Home
Step-by-Step Guide: How I Built My Own Wooden Coffee Table
Why I Recommend Ted’s Woodworking Plans
If you’re serious about woodworking, I highly recommend checking out Ted’s Woodworking Plans. This comprehensive resource includes 16,000+ plans for everything from desks to bookshelves to outdoor furniture. Here’s why it’s worth it:
- Step-by-Step Instructions: Each plan comes with detailed instructions and diagrams.
- Beginner-Friendly: Perfect for those new to woodworking.
- Lifetime Access: Get access to all plans and updates forever.
I used Ted’s plans to build my desk, and it made the process so much easier. If you’re looking for a reliable resource to guide your woodworking journey, this is it.
Final Thoughts
Building my own wooden desk was one of the most rewarding projects I’ve ever done. Not only do I have a beautiful desk that fits my space perfectly, but I also gained confidence in my woodworking skills. If I can do it, so can you!
Disclosure: This post contains affiliate links. If you purchase through these links, I may earn a commission at no additional cost to you.
Discover more from WoodReality
Subscribe to get the latest posts sent to your email.

Pingback: How to Build a Wooden TV Stand: A Step-by-Step DIY Guide – WoodReality