As a devoted dog owner, I understand the importance of providing a safe and comfortable space for our canine companions. Building a dog house is a fulfilling project that ensures your pet has a personal retreat, offering protection from the elements and a cozy spot to relax. In this guide, I’ll walk you through the detailed steps of constructing a durable and inviting dog house, tailored to your dog’s specific needs.
1. Planning Your Dog House
Before picking up your tools, it’s essential to plan meticulously. A well-thought-out plan ensures the final structure is both functional and comfortable for your dog.
- Assessing Your Dog’s Size: Measure your dog’s height from the ground to the top of their head and their length from the nose to the base of the tail. Add a few inches to these measurements to determine the interior dimensions, allowing ample space for movement.
- Climate Considerations: Depending on your local weather conditions, you may need to incorporate insulation for colder climates or ventilation features for warmer areas. For instance, in regions with harsh winters, adding insulation can help retain heat, ensuring your dog stays warm.
- Selecting the Location: Choose a spot in your yard that offers natural shade and is elevated to prevent water accumulation. Placing the dog house near your home can provide additional protection from wind and extreme weather.
2. Gathering Materials and Tools
Having the right materials and tools on hand will streamline the building process.
- Materials:
- Pressure-Treated Lumber: Ideal for the base and framing due to its resistance to decay.
- Exterior-Grade Plywood: Suitable for walls and roofing, offering durability against weather elements.
- Roofing Materials: Options include asphalt shingles or corrugated metal sheets, both providing effective protection against rain.
- Insulation: Foam boards or reflective insulation materials are excellent for maintaining internal temperatures.
- Hardware: Galvanized screws and nails resist rust, ensuring the longevity of the structure.
- Weatherproof Sealant or Paint: Protects the wood from moisture and extends the life of the dog house.
- Tools:
- Measuring Tape: For accurate measurements.
- Circular Saw or Handsaw: To cut lumber and plywood to desired sizes.
- Drill with Drill Bits: Essential for creating pilot holes and driving screws.
- Hammer: For nailing components together.
- Level: Ensures all parts of the dog house are even and properly aligned.
- Paintbrushes or Rollers: For applying sealant or paint.

3. Constructing the Base
The base serves as the foundation, providing stability and elevating the dog house to protect against ground moisture.
- Building the Frame: Cut pressure-treated 2x4s to the desired dimensions of the base. Assemble them into a rectangular frame, securing the corners with galvanized screws. Ensure the frame is square by measuring diagonally from corner to corner; both measurements should be equal.
- Adding Floor Support: Install additional 2×4 joists within the frame, spaced evenly to support the floor and prevent sagging.
- Attaching the Floor: Cut a piece of exterior-grade plywood to fit the frame dimensions. Secure it to the frame and joists using galvanized screws, creating a sturdy floor for the dog house.
4. Framing the Walls
The walls provide structure and define the space within the dog house.
- Cutting Wall Studs: Based on your dog’s height and the desired roof slope, cut 2x2s or 2x4s for the vertical studs. Remember to account for the roof pitch when determining the front and rear wall heights.
- Assembling Wall Frames: Construct each wall separately on a flat surface. Attach the vertical studs to horizontal top and bottom plates using screws or nails. Ensure the front wall includes an appropriate opening for the door, considering your dog’s size.
- Installing Wall Frames: Position each wall frame onto the base, securing them with screws through the bottom plate into the base frame. Use a level to ensure each wall is plumb. Connect adjacent walls together at the corners with screws or nails.
5. Adding Insulation and Interior Panels
To ensure your dog remains comfortable throughout the year, insulating the dog house is beneficial, especially in regions with extreme temperatures.
- Installing Insulation: Cut insulation panels to fit snugly between the wall studs. Materials like foam board or reflective insulation work well. Secure them in place using adhesive or staples. For colder climates, consider insulating the floor and roof as well.
- Adding Interior Panels: Once the insulation is in place, cover it with interior panels cut from plywood. Attach these panels to the studs using screws, ensuring all edges are flush and there are no exposed insulation materials.
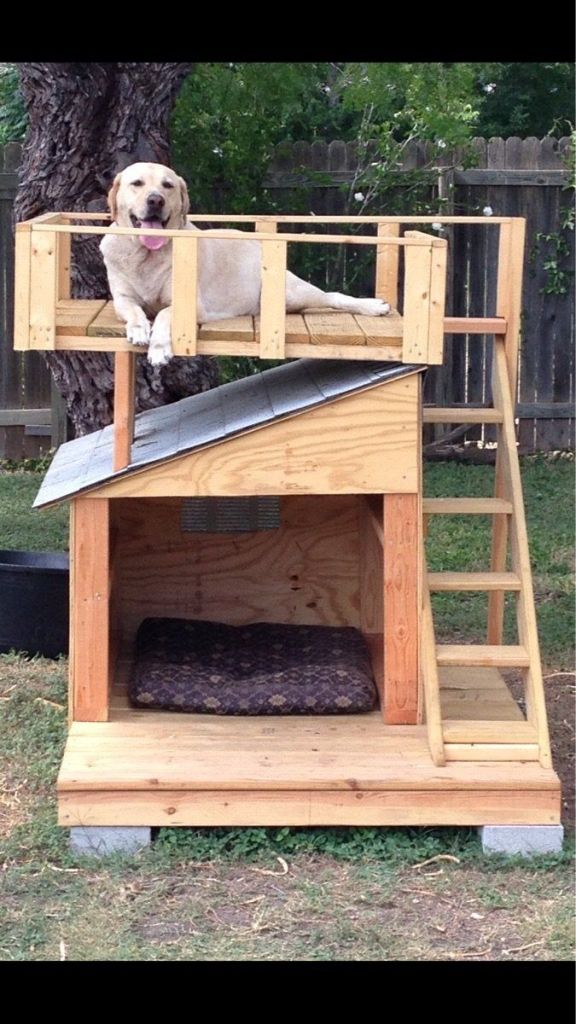
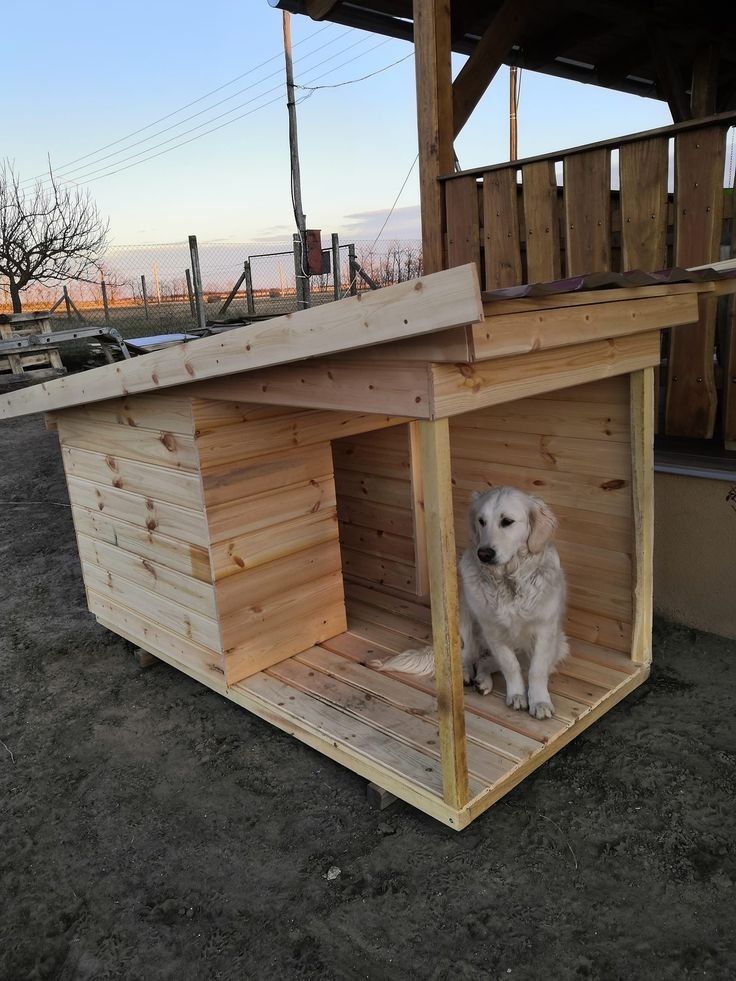
6. Constructing the Roof
A well-designed roof protects your dog from weather elements and adds to the structural integrity of the house.
- Designing the Roof Style: Common designs include a simple slanted roof or a more complex gable roof. A slanted roof is easier to construct and allows for efficient water runoff.
- Building Roof Panels: Cut plywood pieces to form the roof, ensuring they extend beyond the walls to prevent water from dripping down the sides. If constructing a gable roof, you’ll need two panels cut at opposing angles to meet at the peak.
- Attaching Roofing Material: Cover the plywood with your chosen roofing material. Asphalt shingles are popular due to their durability and ease of installation. Start from the bottom edge, overlapping each subsequent row to ensure water runs off effectively.
7. Installing the Door
- Adding a Door Flap (Optional): If you live in a colder climate, consider installing a flexible vinyl or rubber flap to keep out wind, rain, and snow. You can purchase a pre-made dog house door flap or create one from heavy-duty plastic. Attach it to the top of the door opening using screws or adhesive strips.
8. Painting and Weatherproofing
To ensure the longevity of your dog house, it’s crucial to seal and protect it from the elements.
- Choosing the Right Paint or Stain: Use an exterior-grade, weather-resistant paint or wood stain that is non-toxic and safe for pets. Avoid lead-based paints, as they can be harmful to animals.
- Applying Sealant: After painting or staining, apply a clear, weatherproof sealant to protect the wood from moisture and prevent rotting.
- Adding Ventilation Holes: Drill small ventilation holes near the top of the walls to allow proper airflow, preventing mold and overheating inside the dog house.
9. Adding Comfort and Accessories
Once the basic structure is complete, make the interior comfortable for your dog.
- Bedding and Flooring: Place straw, cedar shavings, or a washable dog bed inside for warmth and comfort. Avoid materials that retain moisture, as they can lead to mold and mildew.
- Heating and Cooling Options: In extreme climates, consider adding a heated dog bed for winter or a small battery-operated fan for summer to keep the interior temperature balanced.
10. Final Inspection and Placement
Before introducing your dog to their new home, inspect the dog house thoroughly.
- Check for Sharp Edges: Sand down any rough spots or exposed screws that could harm your dog.
- Ensure Stability: Make sure the structure is sturdy and does not wobble.
- Place the Dog House in a Safe Area: Position the house in a shaded area during summer and a sheltered spot during winter. Consider slightly elevating it with bricks or wooden blocks to improve air circulation underneath.
Read Also:
How to Build a Chicken Coop for Beginners: The Ultimate 2025 Guide
Conclusion
Building a dog house is a rewarding project that provides your furry friend with a safe and comfortable space. By following this step-by-step guide, you can create a durable, weatherproof shelter tailored to your dog’s needs. Remember, the key to a successful build is proper planning, using quality materials, and adding personal touches to make it cozy and inviting.
If you’re looking for professional and easy-to-follow woodworking plans, check out Teds Woodworking Plans. With over 16,000 step-by-step plans, including custom dog house designs, you’ll find everything you need to build high-quality wooden projects with ease.
Affiliate Disclosure: I may earn a commission from qualifying purchases made through the link above, at no additional cost to you.
Discover more from WoodReality
Subscribe to get the latest posts sent to your email.

Pingback: How to Build a Duck Coop: A Step-by-Step DIY Guide – WoodReality