As someone who loves DIY projects, building a treehouse has always been one of the most exciting and rewarding experiences. Whether it’s for your kids, as a personal retreat, or simply to challenge your woodworking skills, a treehouse combines creativity, craftsmanship, and nature in the best way possible. In this guide, I’ll walk you through everything you need to know about building a treehouse—from planning and materials to step-by-step instructions, common pitfalls to avoid, and tips to make your project safe and enjoyable.
Why Build a Treehouse?
Treehouses are more than just fun projects; they offer numerous benefits:
- Reconnect with Nature: A treehouse gives you a unique opportunity to spend time outdoors among the trees, away from the hustle of daily life.
- Family Bonding: Building and using a treehouse can be an exciting family activity that brings everyone together.
- Personal Escape: It can serve as a peaceful retreat for reading, relaxing, or even working.
- Educational for Kids: Building a treehouse teaches children about construction, problem-solving, teamwork, and respect for nature.
Whether you’re building one for fun or practicality, the process is as enjoyable as the result.
Step 1: Planning Your Treehouse
Check Local Building Codes
Before starting construction:
- Research your local building codes. Some areas require permits for structures above a certain height or size.
- Check zoning regulations to ensure your treehouse doesn’t violate property line restrictions.
- Talk to your neighbors if the treehouse might impact their view or space.
Choose the Right Tree
Your tree is the foundation of your project. Look for:
- A healthy, mature tree with strong branches (oak, maple, fir, or beech are great options).
- Branches at least 8 inches in diameter to support weight.
- A location that’s easily accessible but away from hazards like power lines or steep slopes.
Design Your Treehouse
Decide on the purpose and size of your treehouse:
- Will it be for kids or adults?
- How big should it be? (A small platform for kids might only need 6×6 feet, while an adult retreat could be 10×10 feet or larger.)
- Sketch out your design or use free blueprints. Here’s one I recommend: The Spruce Crafts offers free plans with diagrams.

Step 2: Gathering Materials and Tools
You’ll need:
Materials
- Lumber: Pressure-treated wood is ideal for outdoor use since it resists rot and insects.
- Fasteners: Use lag screws, carriage bolts, and washers (avoid nails as they can loosen over time).
- Roofing Material: Lightweight options like shingles or corrugated metal sheets.
- Decking Boards: For the floor; cedar or composite decking works well.
- Railings: For safety around open edges.
Tools
- Drill/driver
- Circular saw or handsaw
- Hammer
- Measuring tape
- Level
- Safety gear (harnesses if working at height)
- Wrenches (for bolts)
Step 3: Building Your Treehouse (Step-by-Step)
1. Build the Platform
The platform is the base of your treehouse:
- Attach support beams to the tree using lag bolts or tree attachment bolts (TABs). These allow the tree to move naturally without damaging it.
- Create a square or rectangular frame using treated lumber.
- Add cross braces for stability.
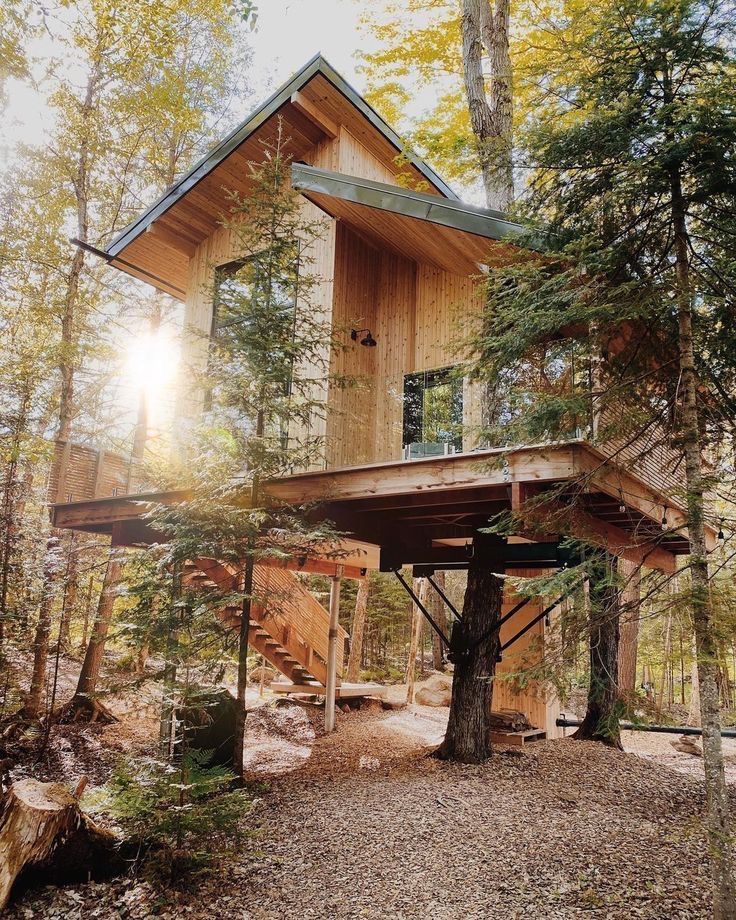
2. Add Posts or Braces
If your tree isn’t strong enough to support the entire structure:
- Add posts anchored into the ground for extra support.
- Use diagonal bracing to stabilize the posts.
3. Install the Floor
Lay decking boards over your platform frame:
- Space them slightly apart to allow water drainage.
- Secure them with decking screws to prevent movement.
4. Build Walls and Railings
Frame walls using lightweight lumber:
- Add railings around open edges for safety—especially if children will use the treehouse.
- Install windows for ventilation and natural light.
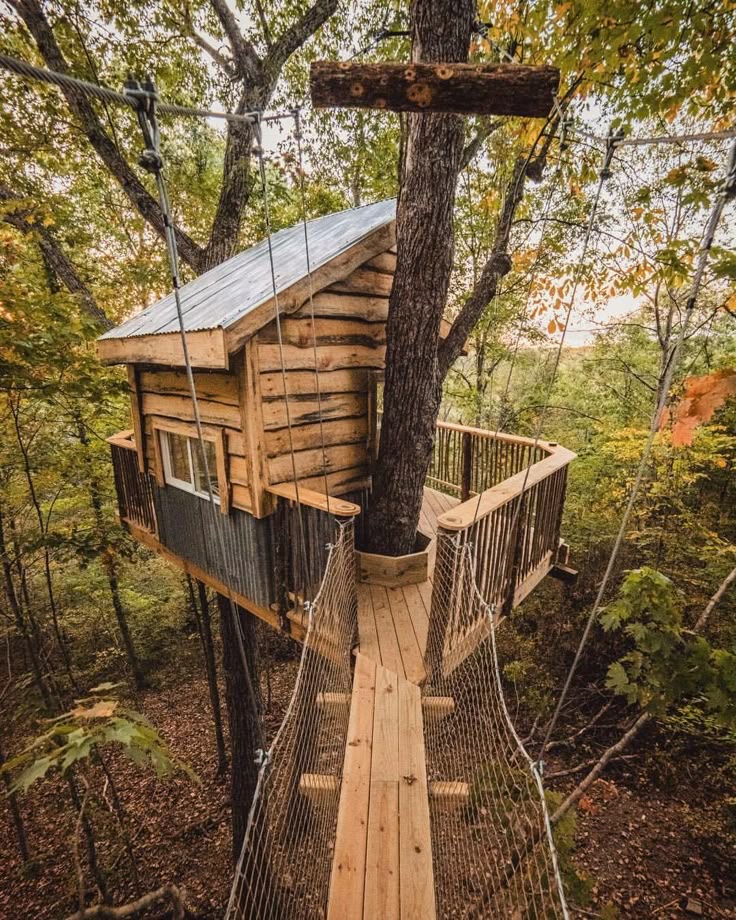
5. Add a Roof
Choose a roof style based on your design:
- A sloped roof is ideal for rain runoff.
- Use lightweight materials like shingles or corrugated metal sheets.
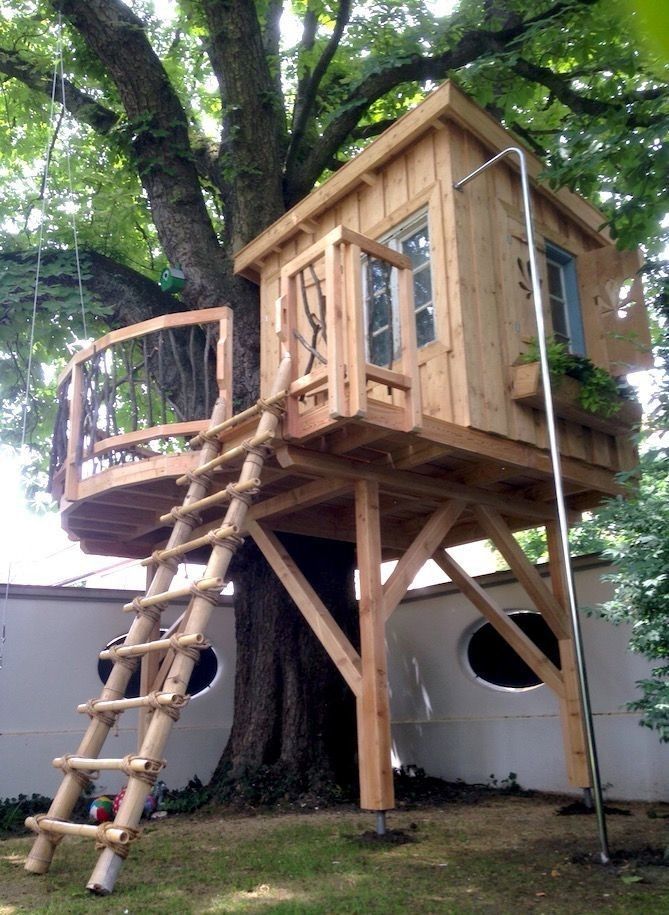
6. Build Access Points
Create safe ways to enter and exit the treehouse:
- A sturdy ladder is simple and effective.
- For added fun, build stairs or even a rope ladder.
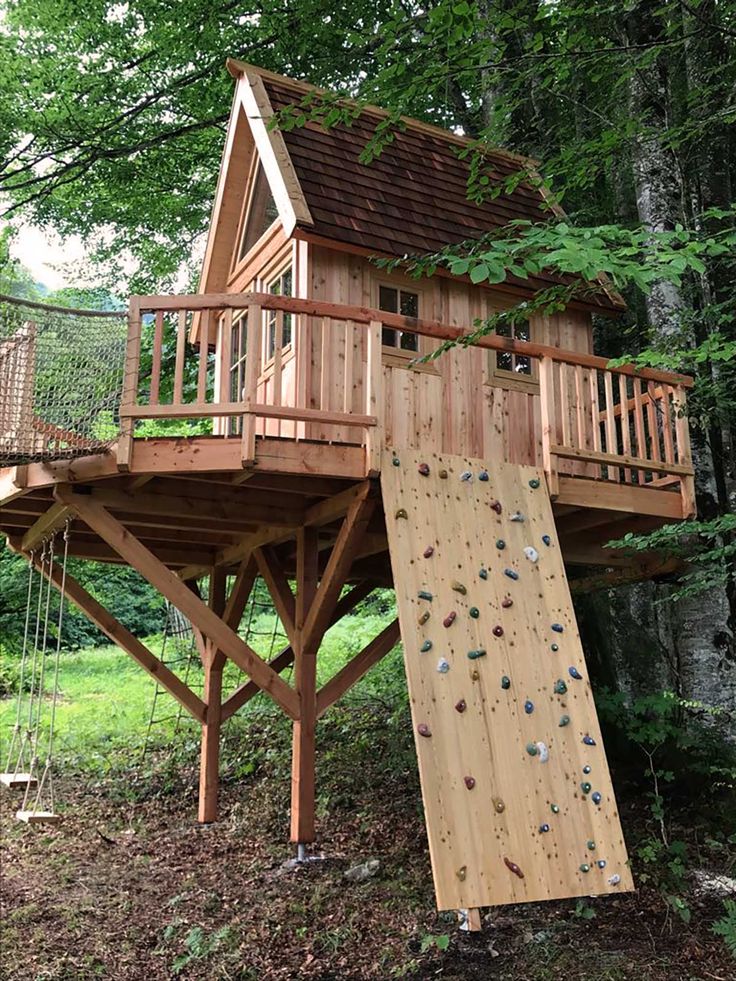
Step 4: Adding Finishing Touches
Once the main structure is complete:
- Paint or stain the wood to protect it from weather damage.
- Decorate with curtains, cushions, or furniture depending on its purpose.
- Add fun features like swings, slides, or zip lines if it’s for kids.
Step 5: Safety Considerations
Safety is critical when building and using a treehouse:
- Ensure all fasteners are secure and that there are no sharp edges.
- Use railings around open areas to prevent falls.
- Regularly inspect the structure for wear and tear—especially after storms.
- Avoid overloading with too many people or heavy items.
Common Mistakes to Avoid
- Choosing an Unhealthy Tree: Weak trees can’t support heavy structures.
- Using Nails Instead of Bolts: Nails can loosen over time; bolts are much safer.
- Not Allowing Tree Movement: Trees sway in the wind—use flexible fasteners like TABs to accommodate this movement.
- Overloading the Structure: Keep it lightweight; avoid heavy roofing materials or oversized designs.
Frequently Asked Questions About Treehouses
How much does it cost to build a treehouse?
Costs vary depending on size and materials but typically range from $300-$3,000 for DIY builds.
Can I build a treehouse without harming the tree?
Yes! Use techniques like TABs that minimize damage while allowing natural growth.
What’s the best type of wood for a treehouse?
Pressure-treated wood is durable and weather-resistant—perfect for outdoor projects.
Free Resources for Treehouse Plans
If you’re looking for free blueprints to get started, here’s an excellent resource:
- The Spruce Crafts: Offers free downloadable plans with clear instructions.
Watch This Tutorial for Building Your TreehouseIf you’re looking for hands-on guidance on constructing your dream treehouse, check out this excellent tutorial below. It covers essential steps from planning to completion and provides valuable insights into ensuring safety and stability.
Expanding Your Skills with Woodworking Plans
Building a treehouse is just one of many exciting woodworking projects you can take on! If you’re interested in exploring more detailed plans—whether it’s sheds, furniture, or other outdoor structures—I highly recommend checking out Ted’s Woodworking Plans. Ted’s collection includes over 16,000 step-by-step blueprints covering projects like:
- Backyard sheds
- Outdoor furniture
- Kids’ playhouses
- Advanced woodworking designs
With Ted’s Woodworking Plans, you’ll get:
- Detailed blueprints with clear instructions.
- Material lists for every project.
- Plans suitable for all skill levels—from beginners to experts.
Ready to take your woodworking skills further?
Explore Ted’s Woodworking Plans today and unlock thousands of creative ideas!
Building a treehouse isn’t just about crafting something functional—it’s about creating memories that last a lifetime! Whether it’s for playtime with kids or quiet moments of reflection among nature, your new hideaway will be worth every ounce of effort!
This article contains affiliate links. If you click on these links and make a purchase, I may earn a commission at no additional cost to you. This helps support my content creation efforts so I can continue providing valuable information like this guide.Thank you for your support!
Discover more from WoodReality
Subscribe to get the latest posts sent to your email.

Pingback: How to Build a Wooden Outdoor Shower for Your Garden – A Complete DIY Guide – WoodReality